
The inception
The challenge for this project was to choose a problem we are passionate about and brainstorm potential solutions, create a research plan, present the findings to the class, and create a list of deliverables that include mockups, a prototype, a Webflow site, and a case study booklet explaining the purpose and process of the project.
My project is to develop a trail navigation method that guides users along difficult-to-complete trails and records their location using RFID technology, with interactive navigation pylons placed along the route. The information gathered by the pylons allows emergency services to efficiently reach a lost hiker if they become stranded.
Design Problem
The problem I chose for my case study project is how to improve trail navigation in areas without proper cellular connection or access to digital trail maps.
Project goals
For the project goals, I focused on creating a method of trail navigation that mitigates and reduces the risk of becoming lost on trails and helps trail users maintain their bearing when on difficult-to-complete trails such as the West Coast Trail and the Garibaldi Lake hike. I also created a life-size prototype that can showcase the trail pylons' features and design that users can interact with and explore the concept.
Project objectives
For the project deliverables, I first gathered and refined all my research findings from the research portion of the project and compiled them all into a research report. Following the research presentations, I created a cardboard prototype that is life-size and painted to match the digital concept. I also created a variety of collateral mockups that demonstrate the practical uses and functionality of the pylons and showcase the company’s brand identity.
Finally, I created a Webflow site that serves to teach the viewer about the project and its purpose, as well as a case study booklet that touches on all the different parts of the project, from its inception to the branding and collateral mockups, from the research findings to the various concept sketch designs.
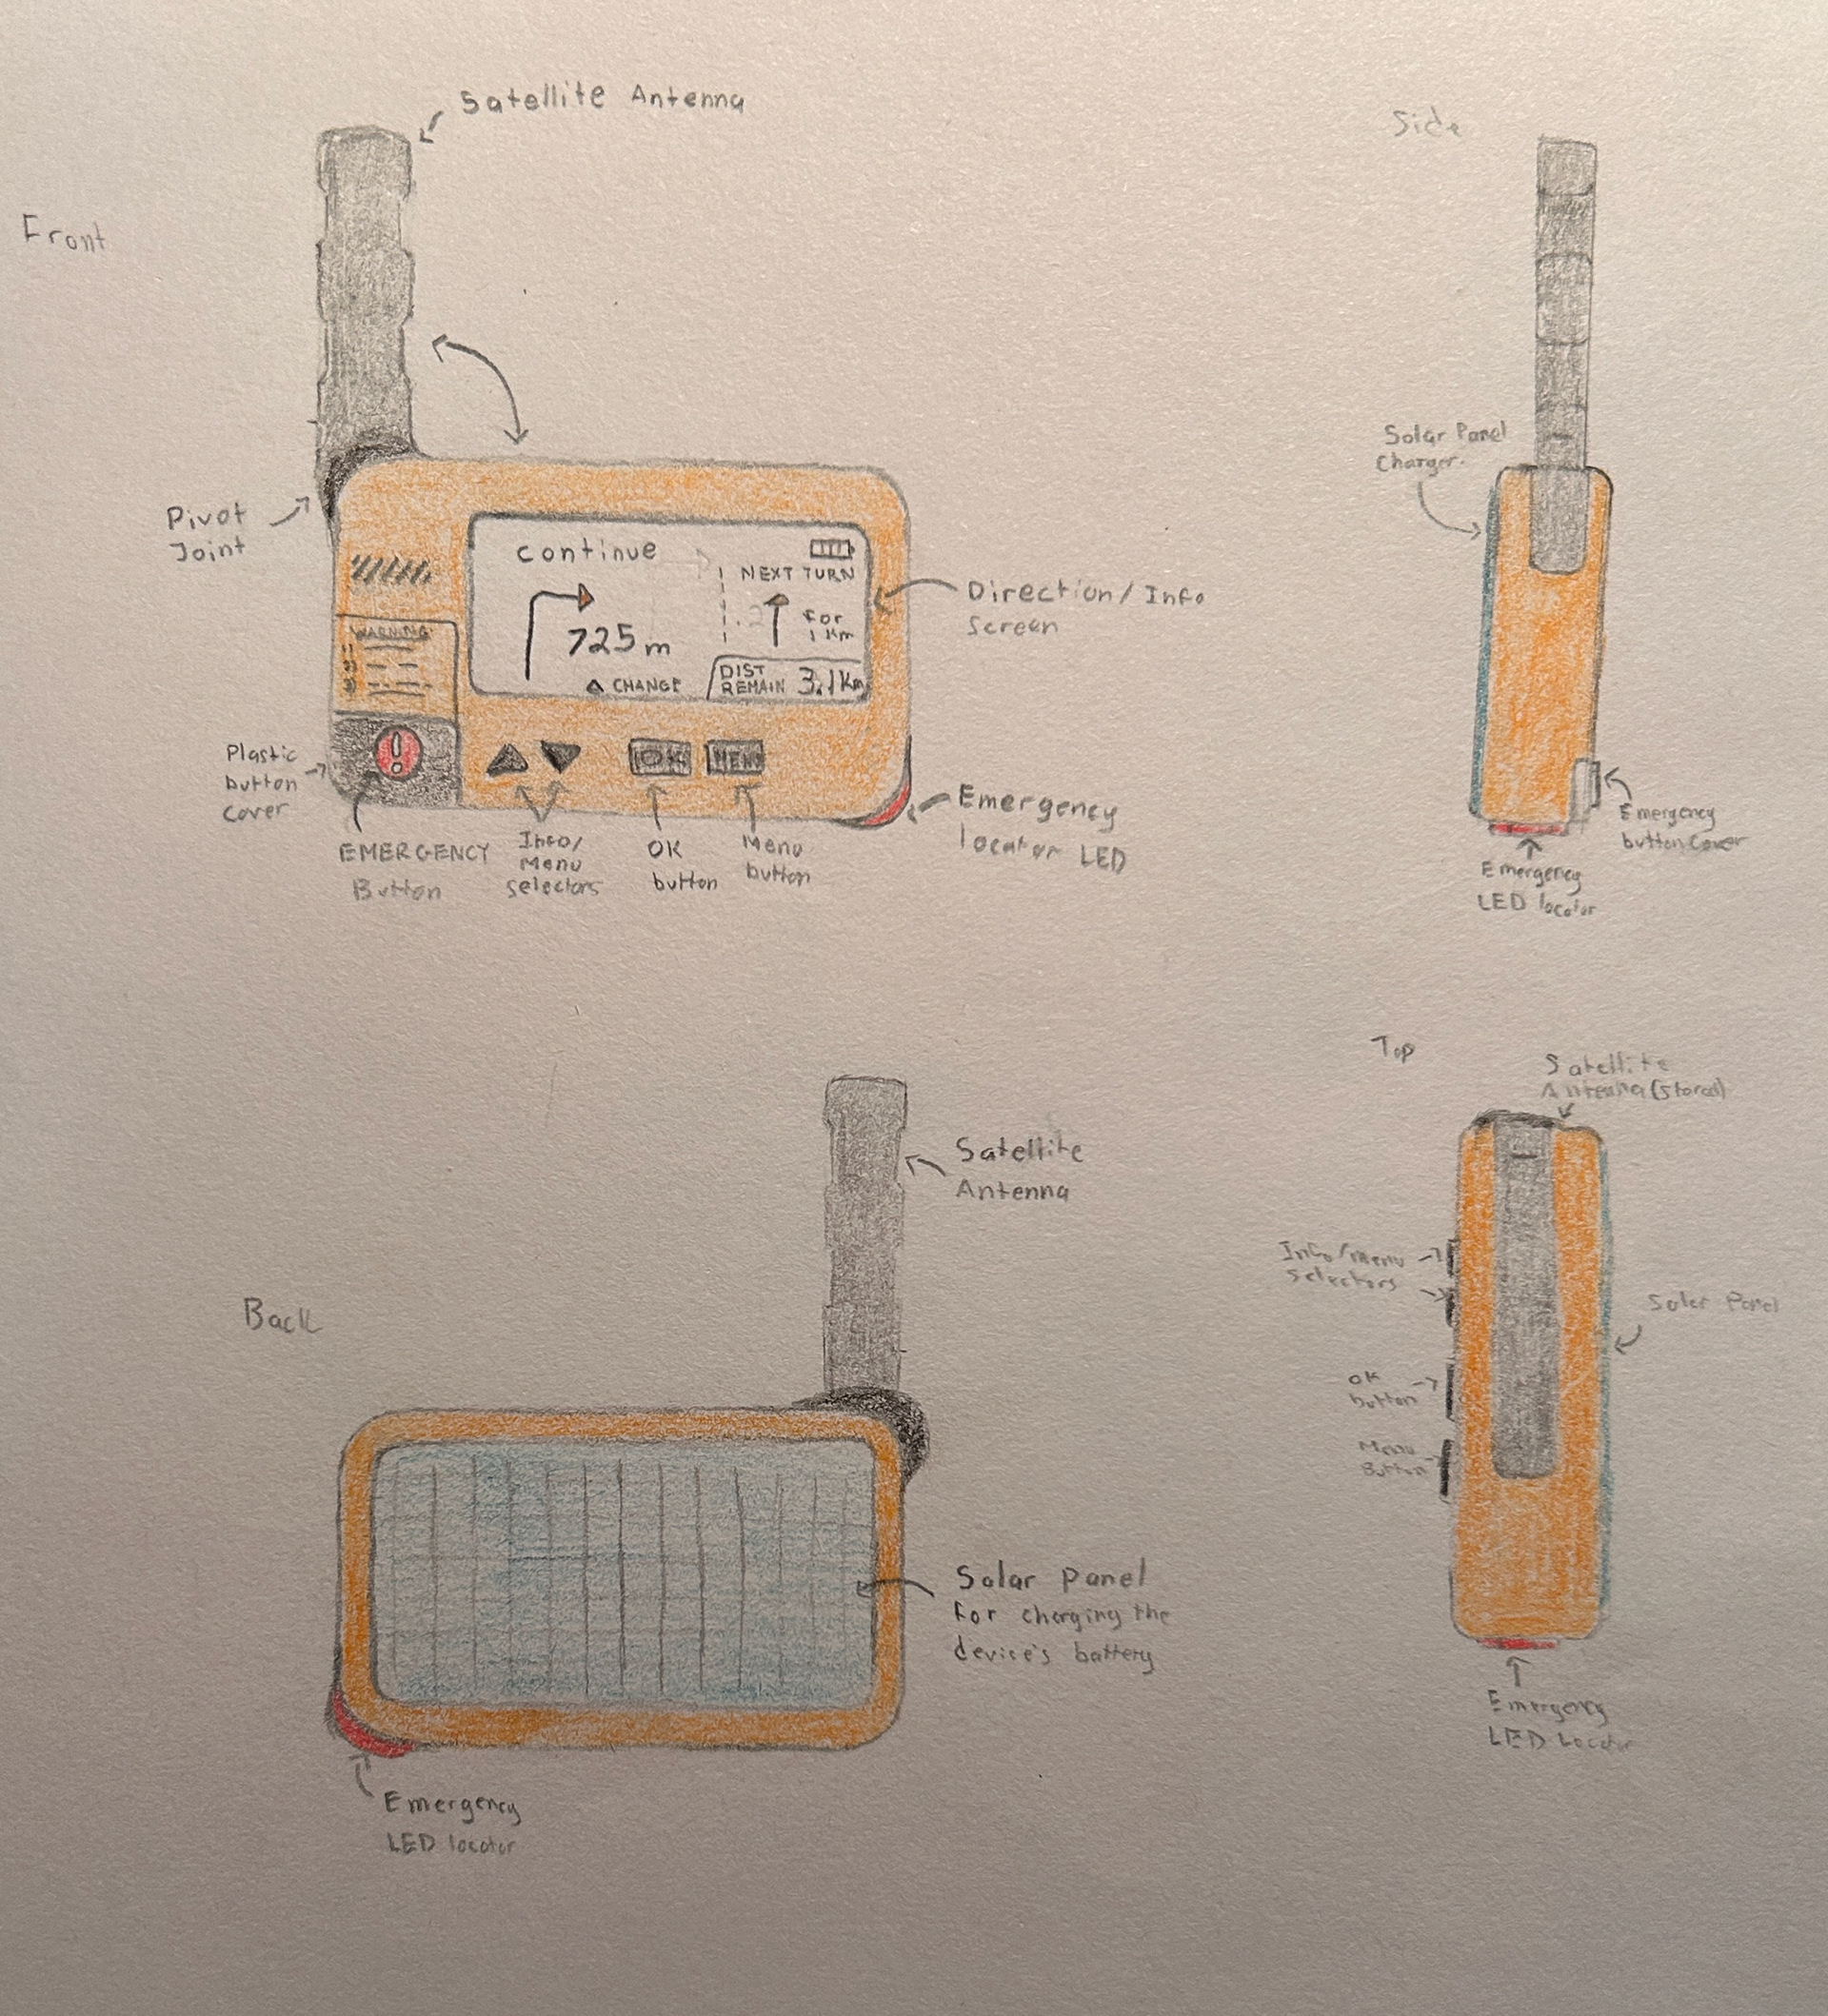
Handheld Tracker Prototype Sketch
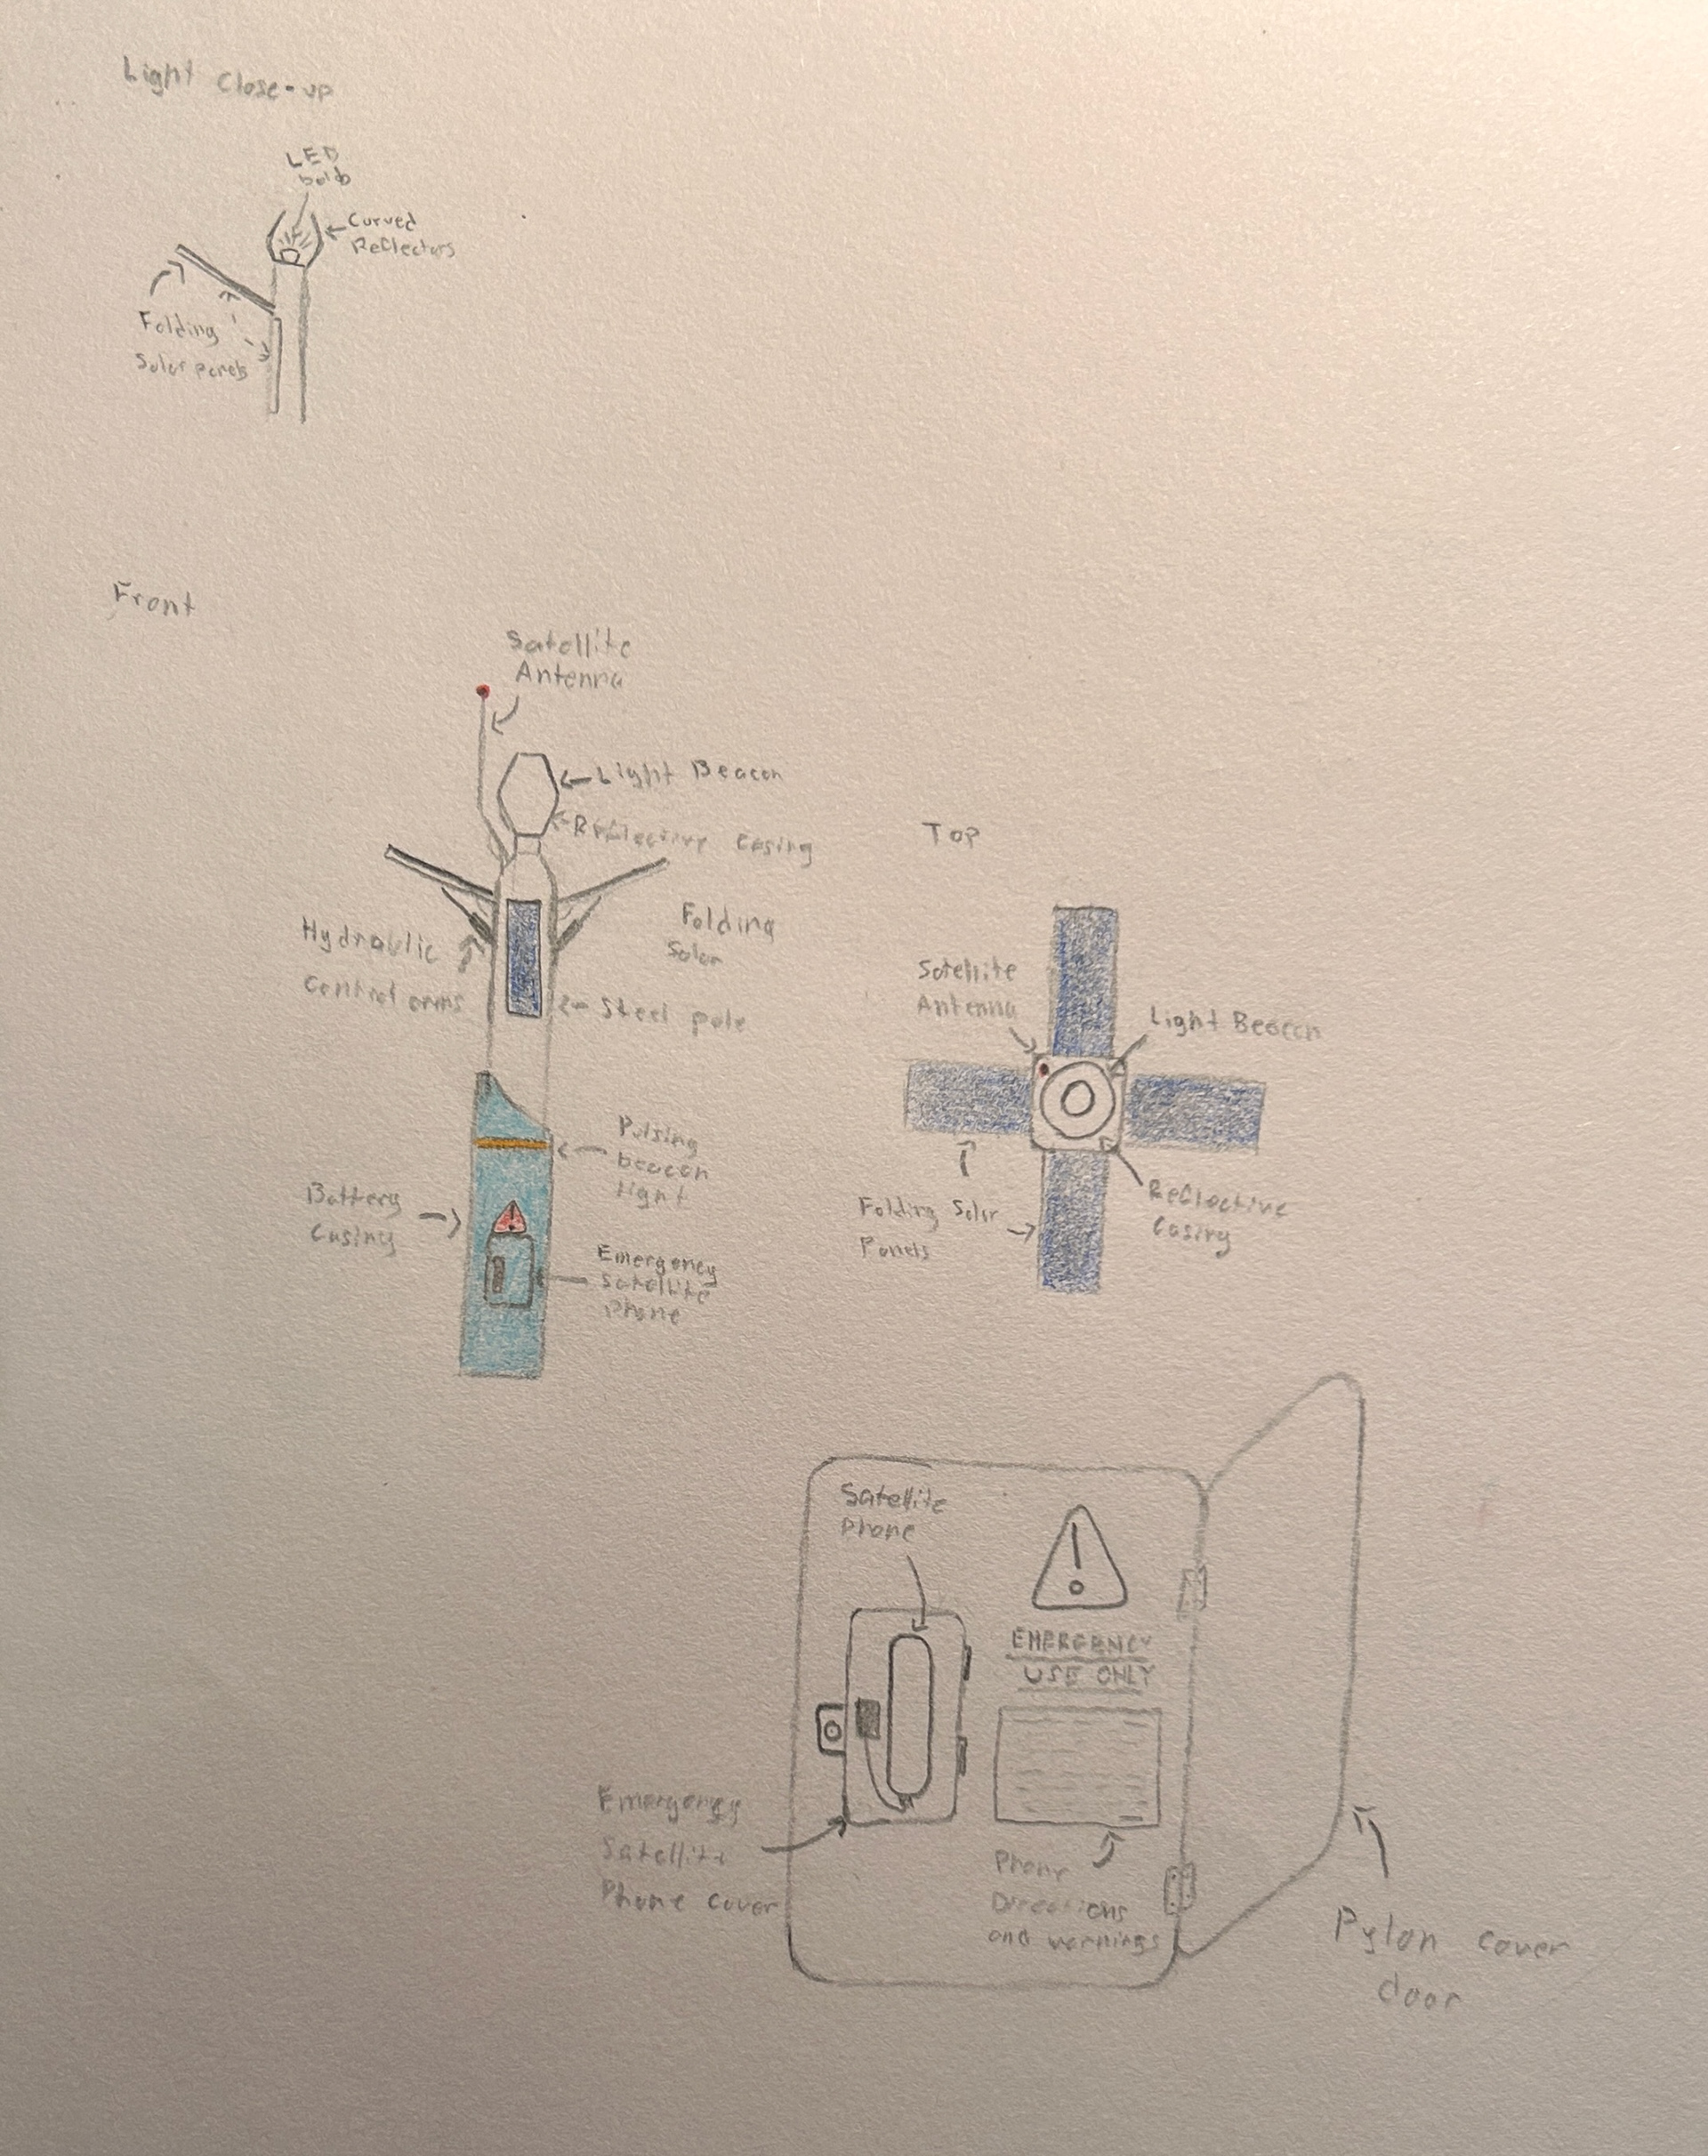
Emergency Location Beacon Prototype Sketch
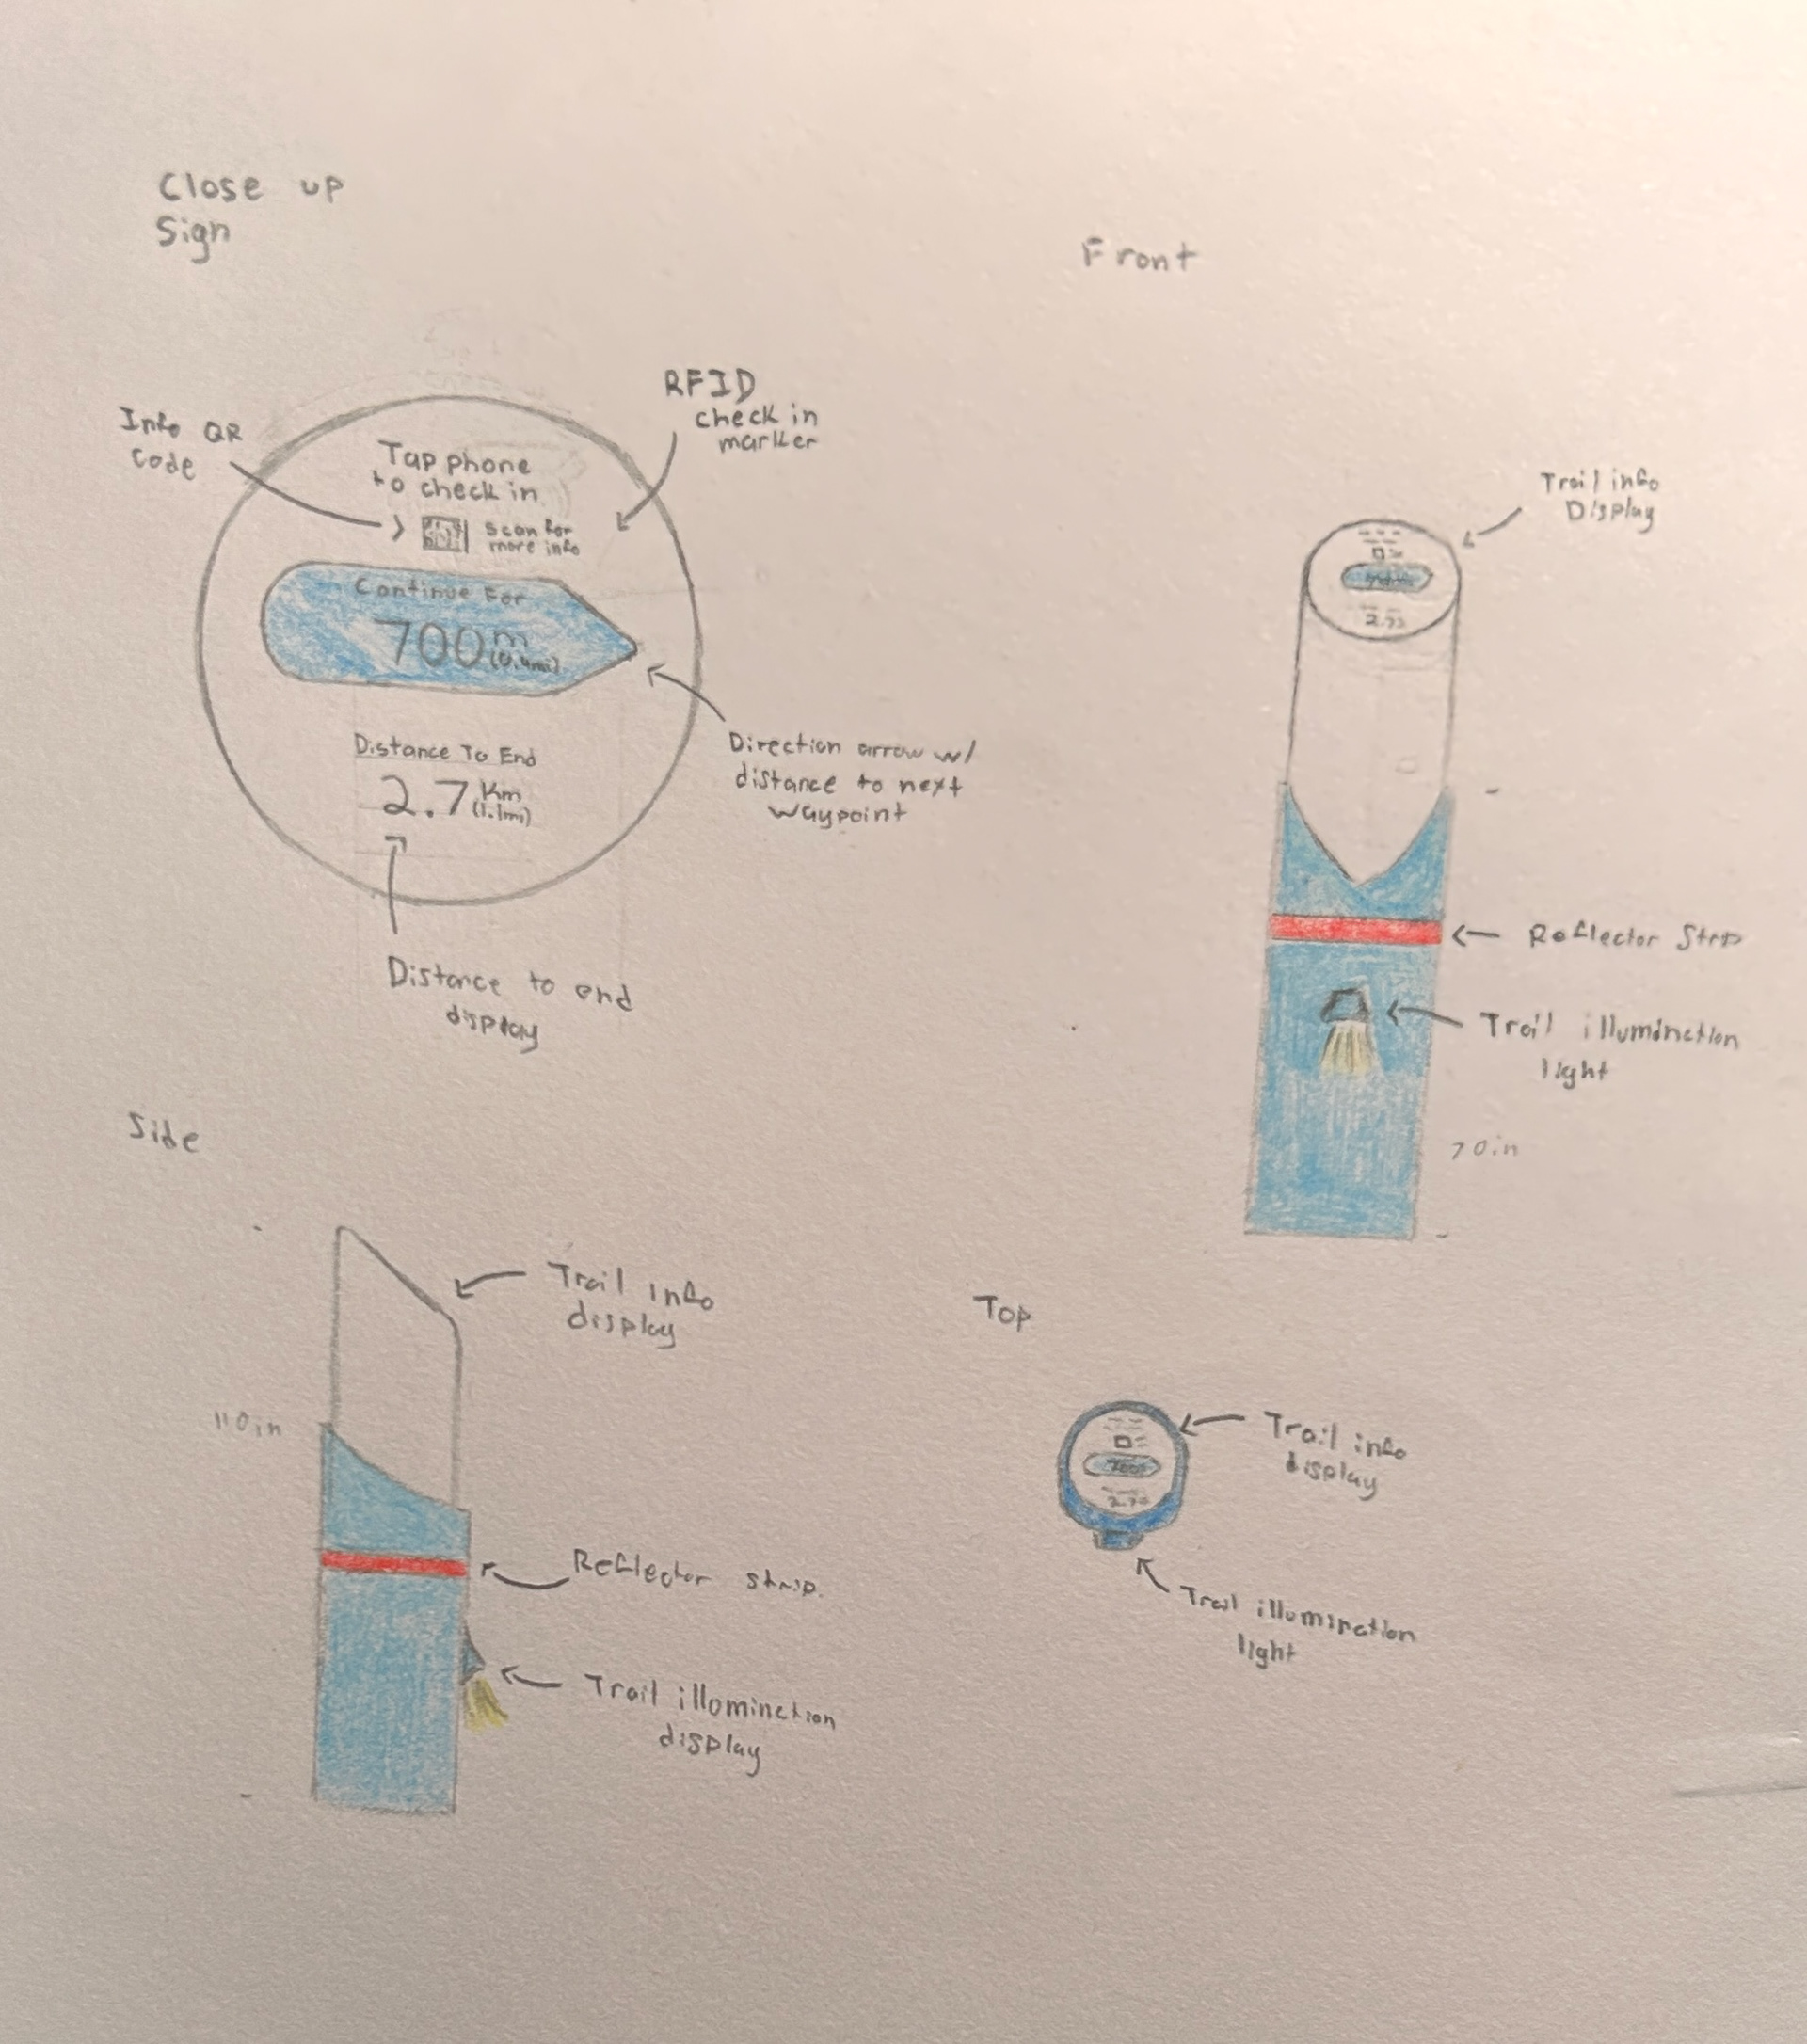
NaviPoint Original Concept Sketch
Research & Analysis
The research phase of the project involved finding three literary research articles that can enhance and build on previously conceived assumptions and background information. The research articles I selected for this project were “Waylosing and wayfinding in the outdoors” by Ole Edward Wattne and Frode Volden, “Travel Route Planning and Tracking Apps” by Artem D. Dymkov, and “Utilization of GPS Data Loggers and GIS Analysis” by Amy Cochran, Ryan L. Sharp, and Chuck Martin. Once completed, the information is implemented and combined with my previous knowledge on the topic, which includes any previous assumptions about the topic, our defined audiences, and any problems our audiences may face.
In addition to the research articles, I created two surveys that would provide more information on the thought process and characteristics of trail users. The first survey was an online survey conducted on Google Forms and asked 12 participants about how they navigate trails, if they have been lost before, how they navigated to safety when lost, their preferred method of trail navigation, and if they hike with more than one person or individually. The second survey was a card sort method, which involved asking 8 participants to rank a list of trail navigation methods from their most used to their least used. Some of the navigation methods include digital maps, trail signage, park maps, compasses, physical paper maps, and landmarks/Points of Reference.
Upon completion of the surveys and research articles, I analyzed all the outcomes and information to develop a more detailed understanding of the project and provide me with new ways to develop the most effective solution to my problem.
The Prototypes
The design process of the project began with brainstorming a variety of potential solutions to our problem, and narrowing down the solutions to three potential solutions. After completing the research phase, I narrowed down the three solutions to the most effective solution and begin ideation for prototype design. Upon completing the prototype, our peers interacted with the design and were asked to make note of any changes or pain points that they experienced to see if there were any areas for improvement.
The peer demonstrations also allowed for a period of reflection and revision about our selected solution method. If we were not satisfied with our chosen solutions, we were given the option to select a new method, but as I was very satisfied with my chosen solution, I continued through to the mockup phase.
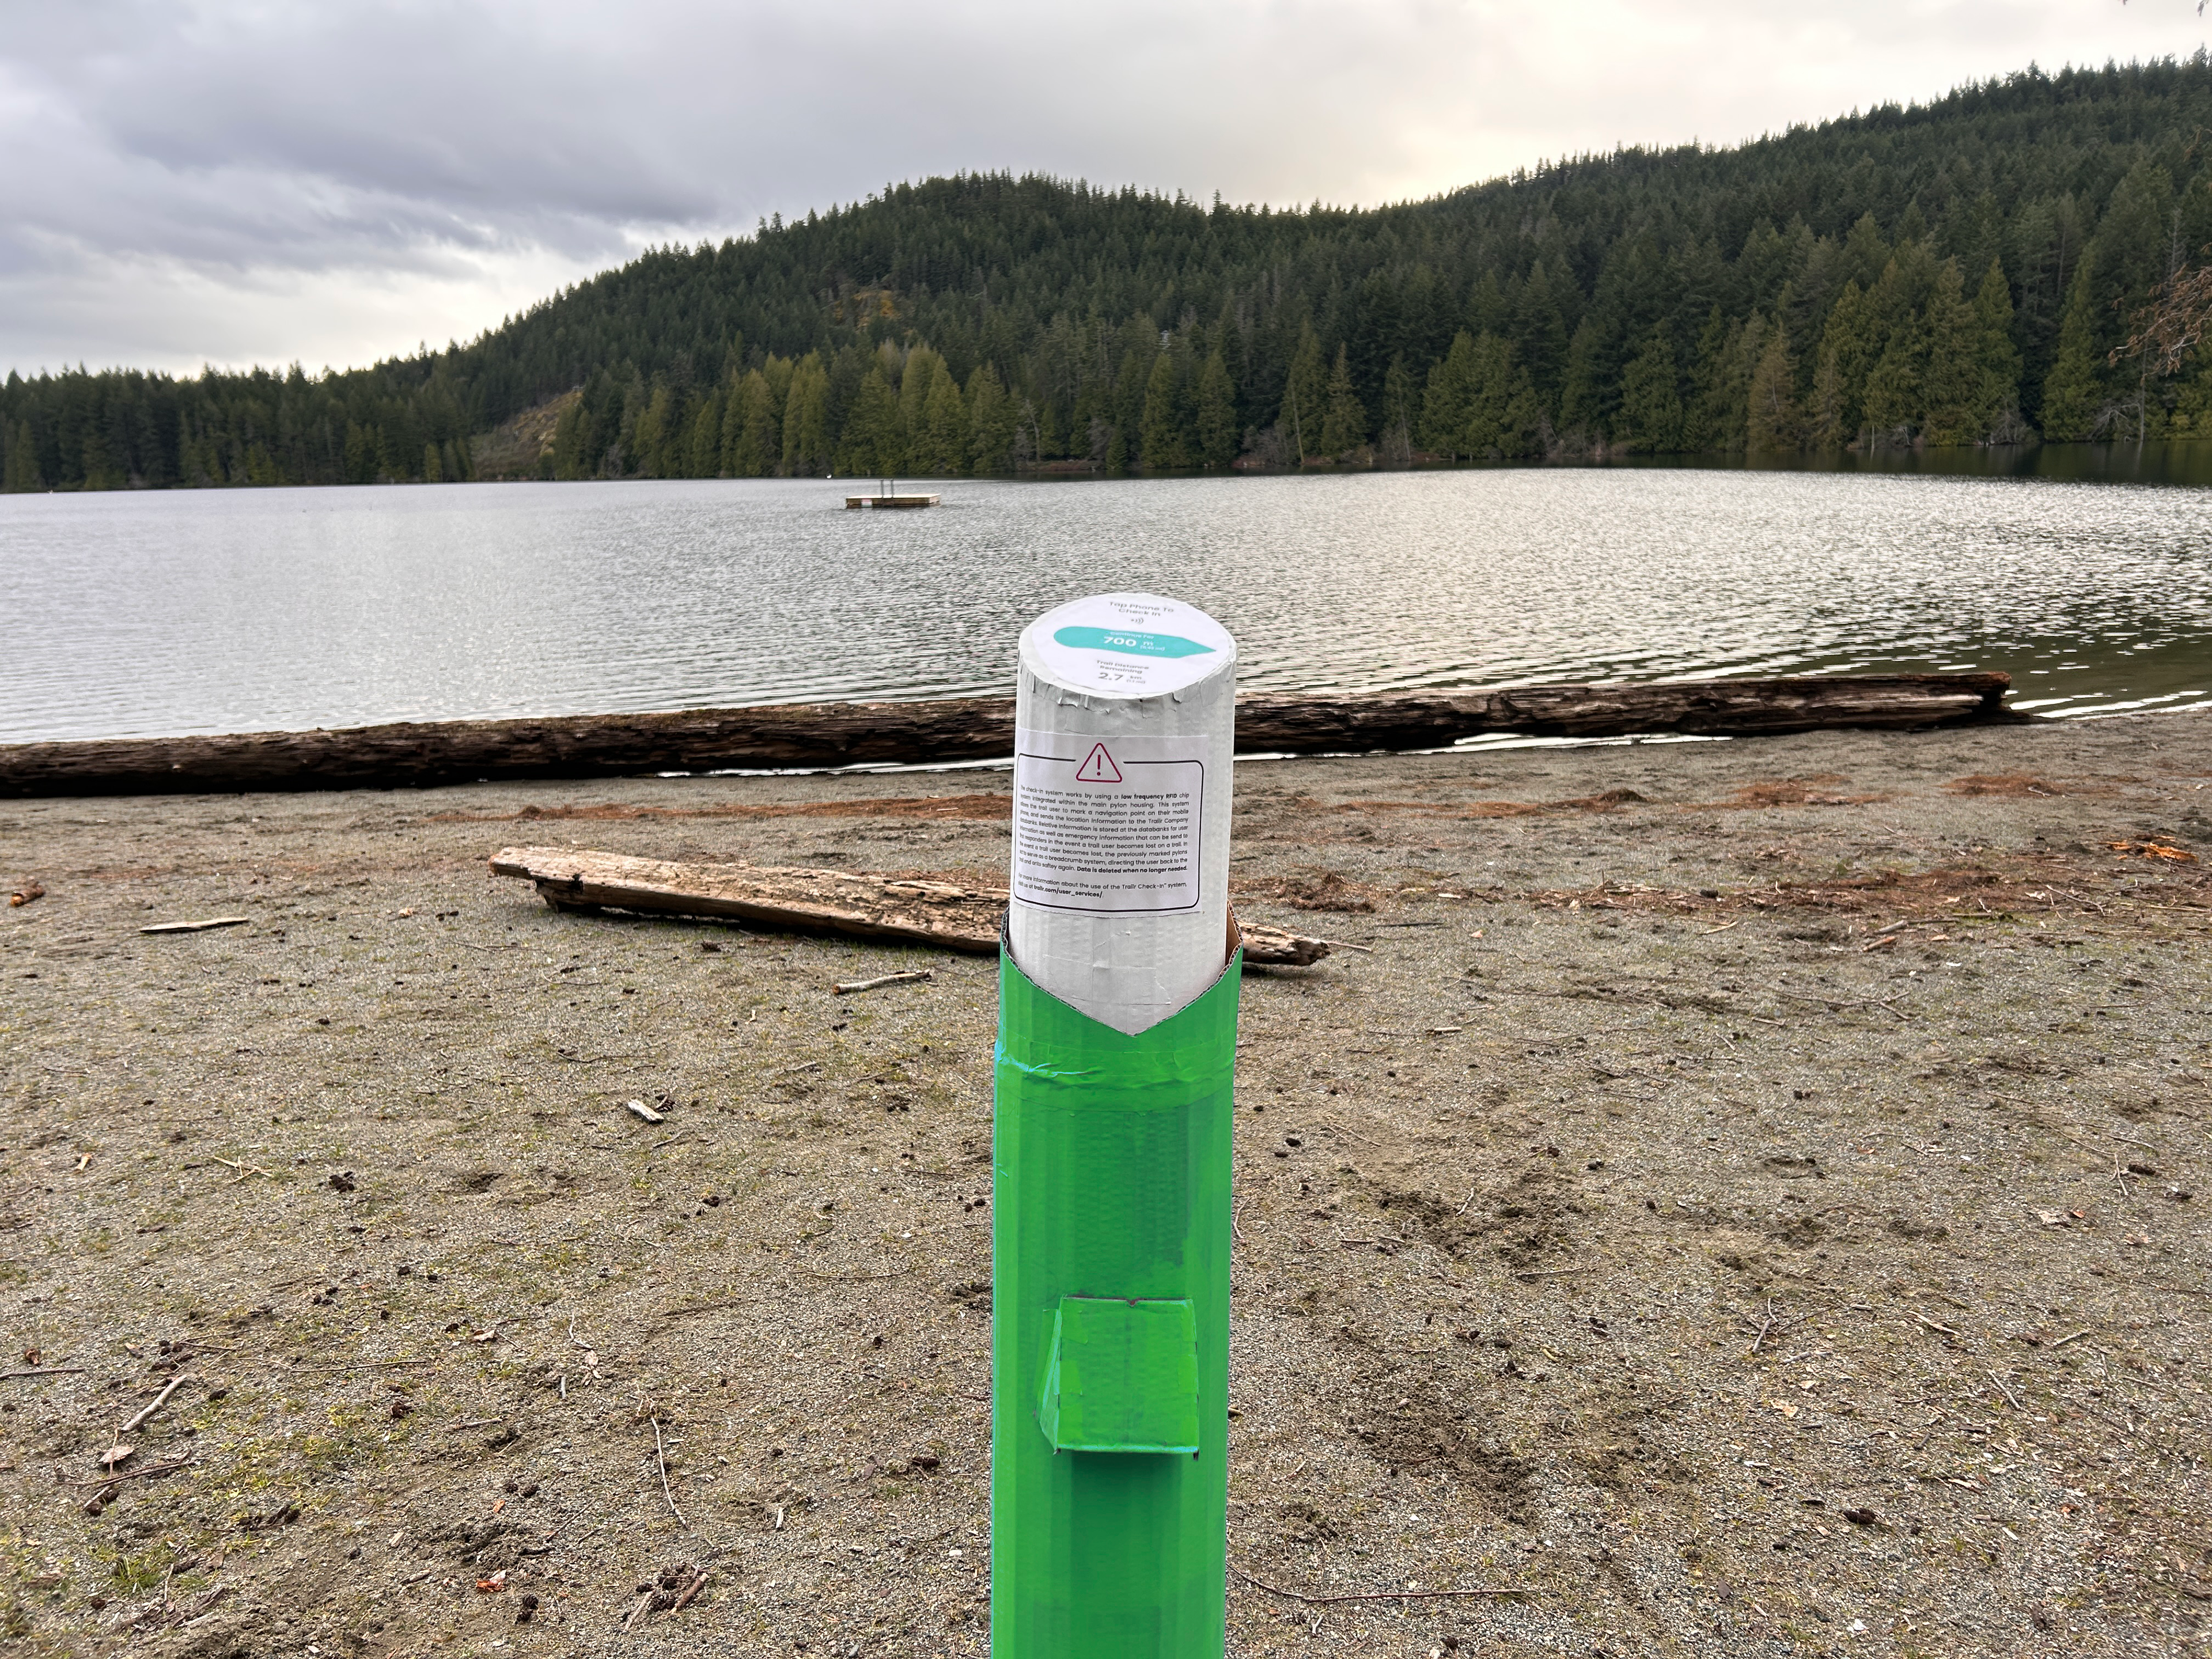
NaviPoint Pylon Prototype
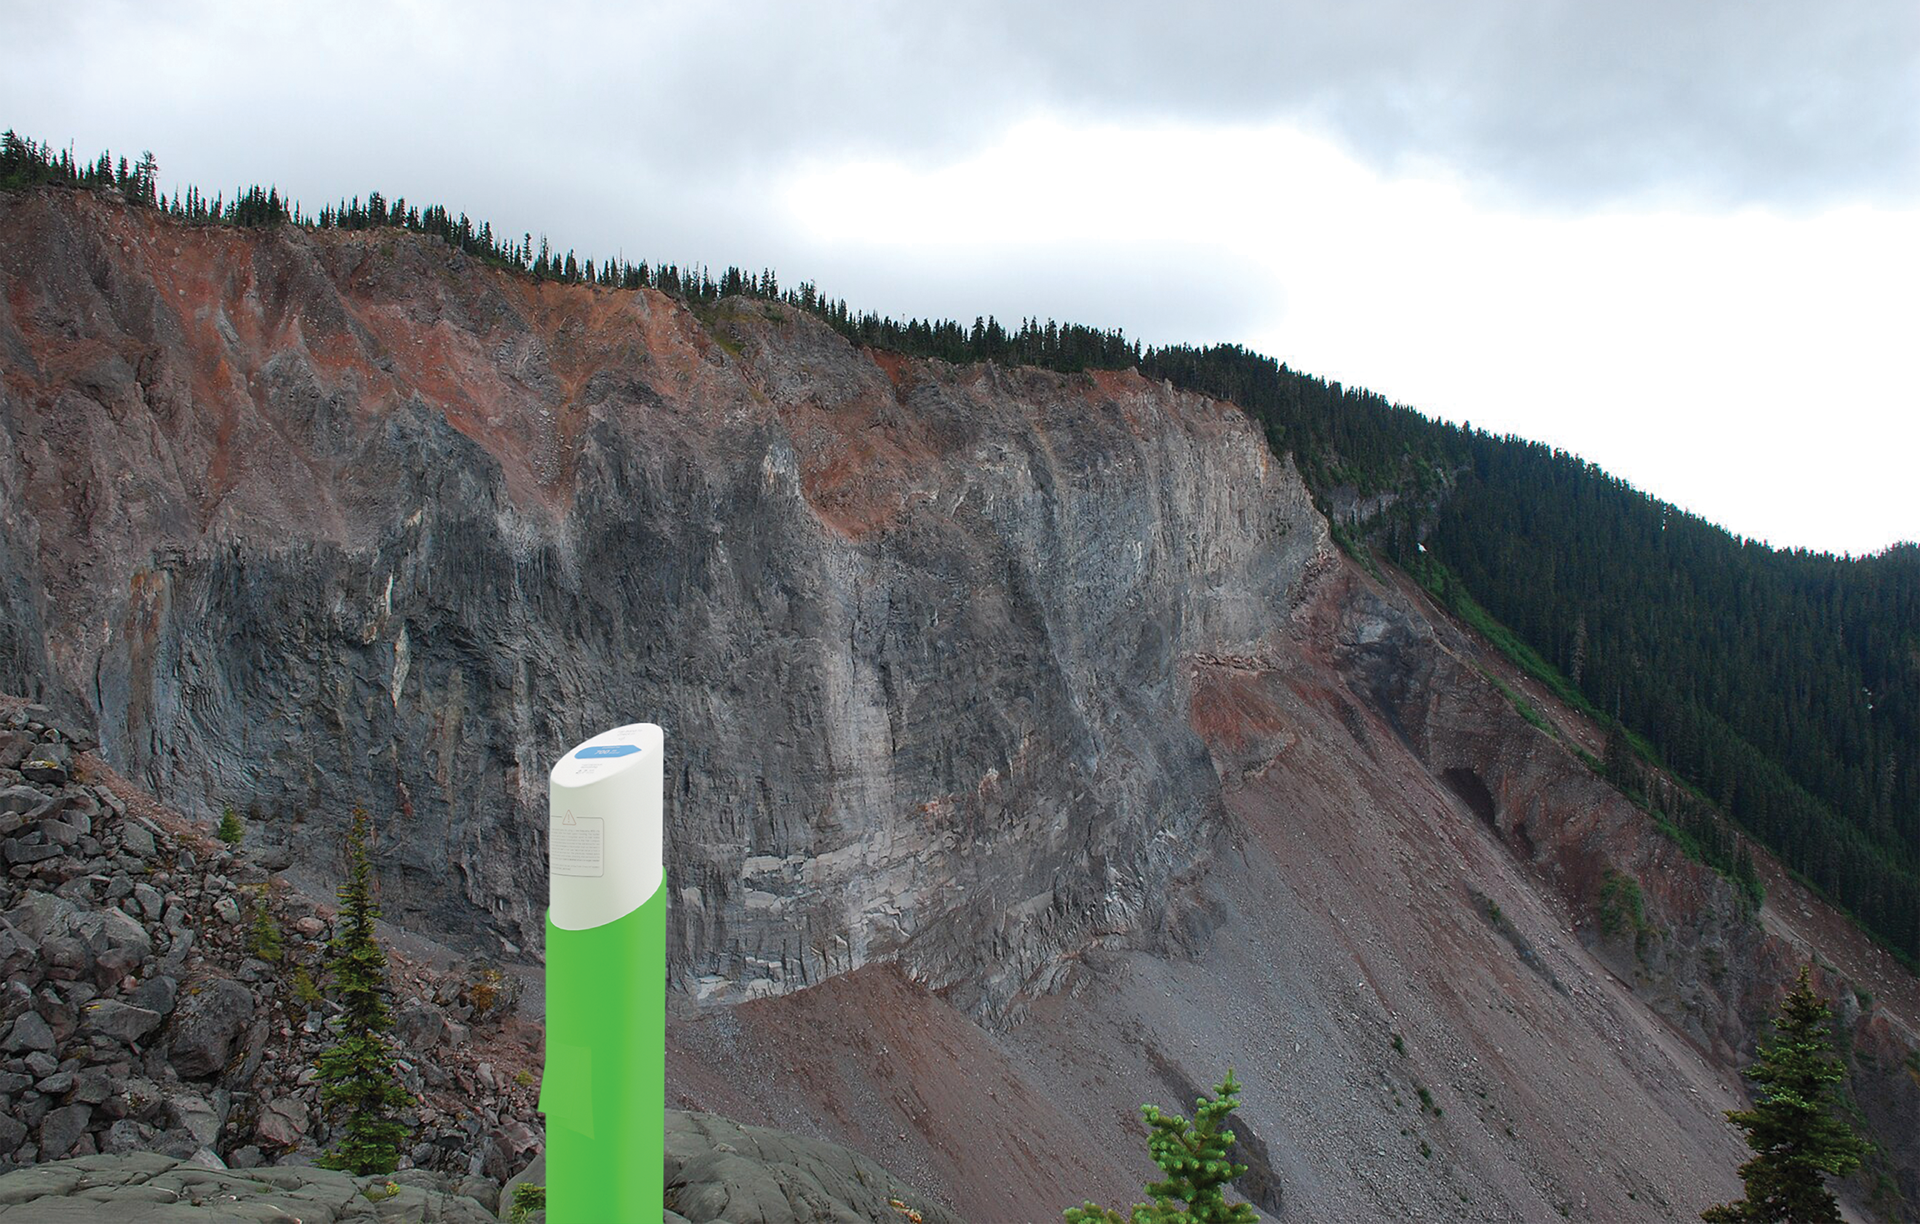
NaviPoint Pylon Digital Render
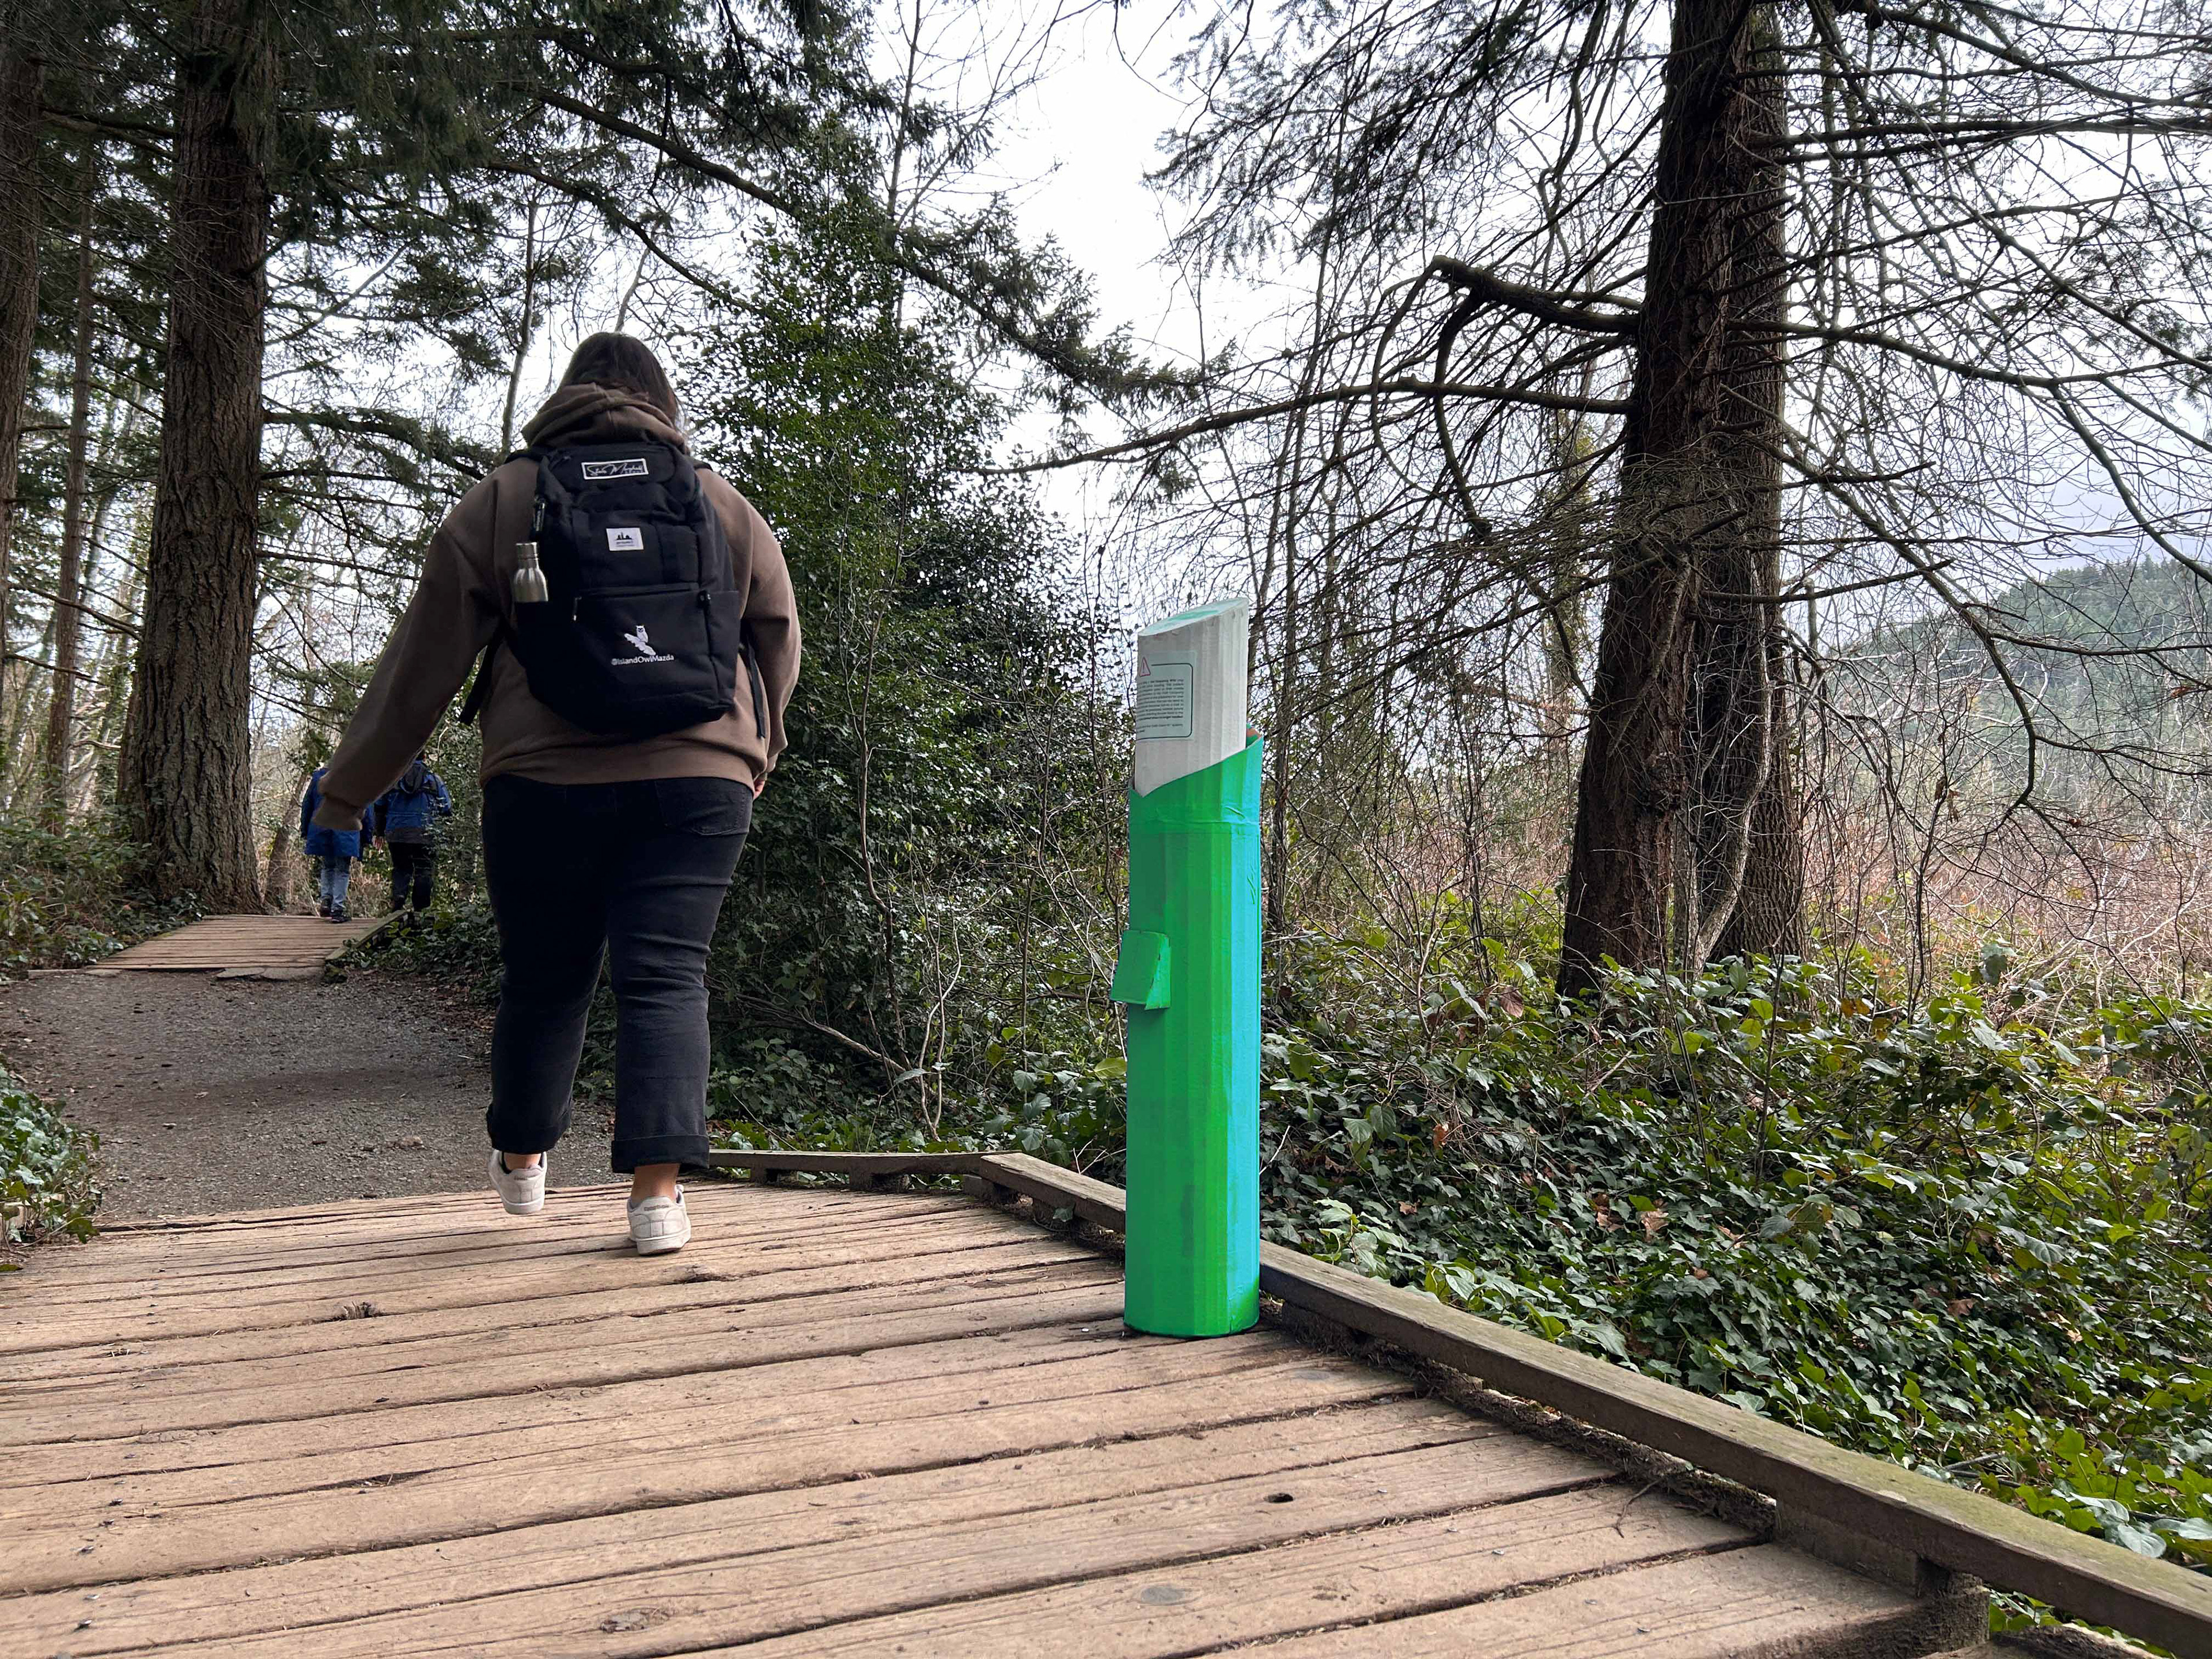
NaviPoint Pylon Along Trail
The Mockups
After the peer feedback and the necessary changes were made, I moved on to the process of creating the remaining deliverables, which include collateral mockups, both low and high-fidelity wireframes, the case study booklet that runs through the entirety of the project, and a fully-functional Webflow marketing site for the product.
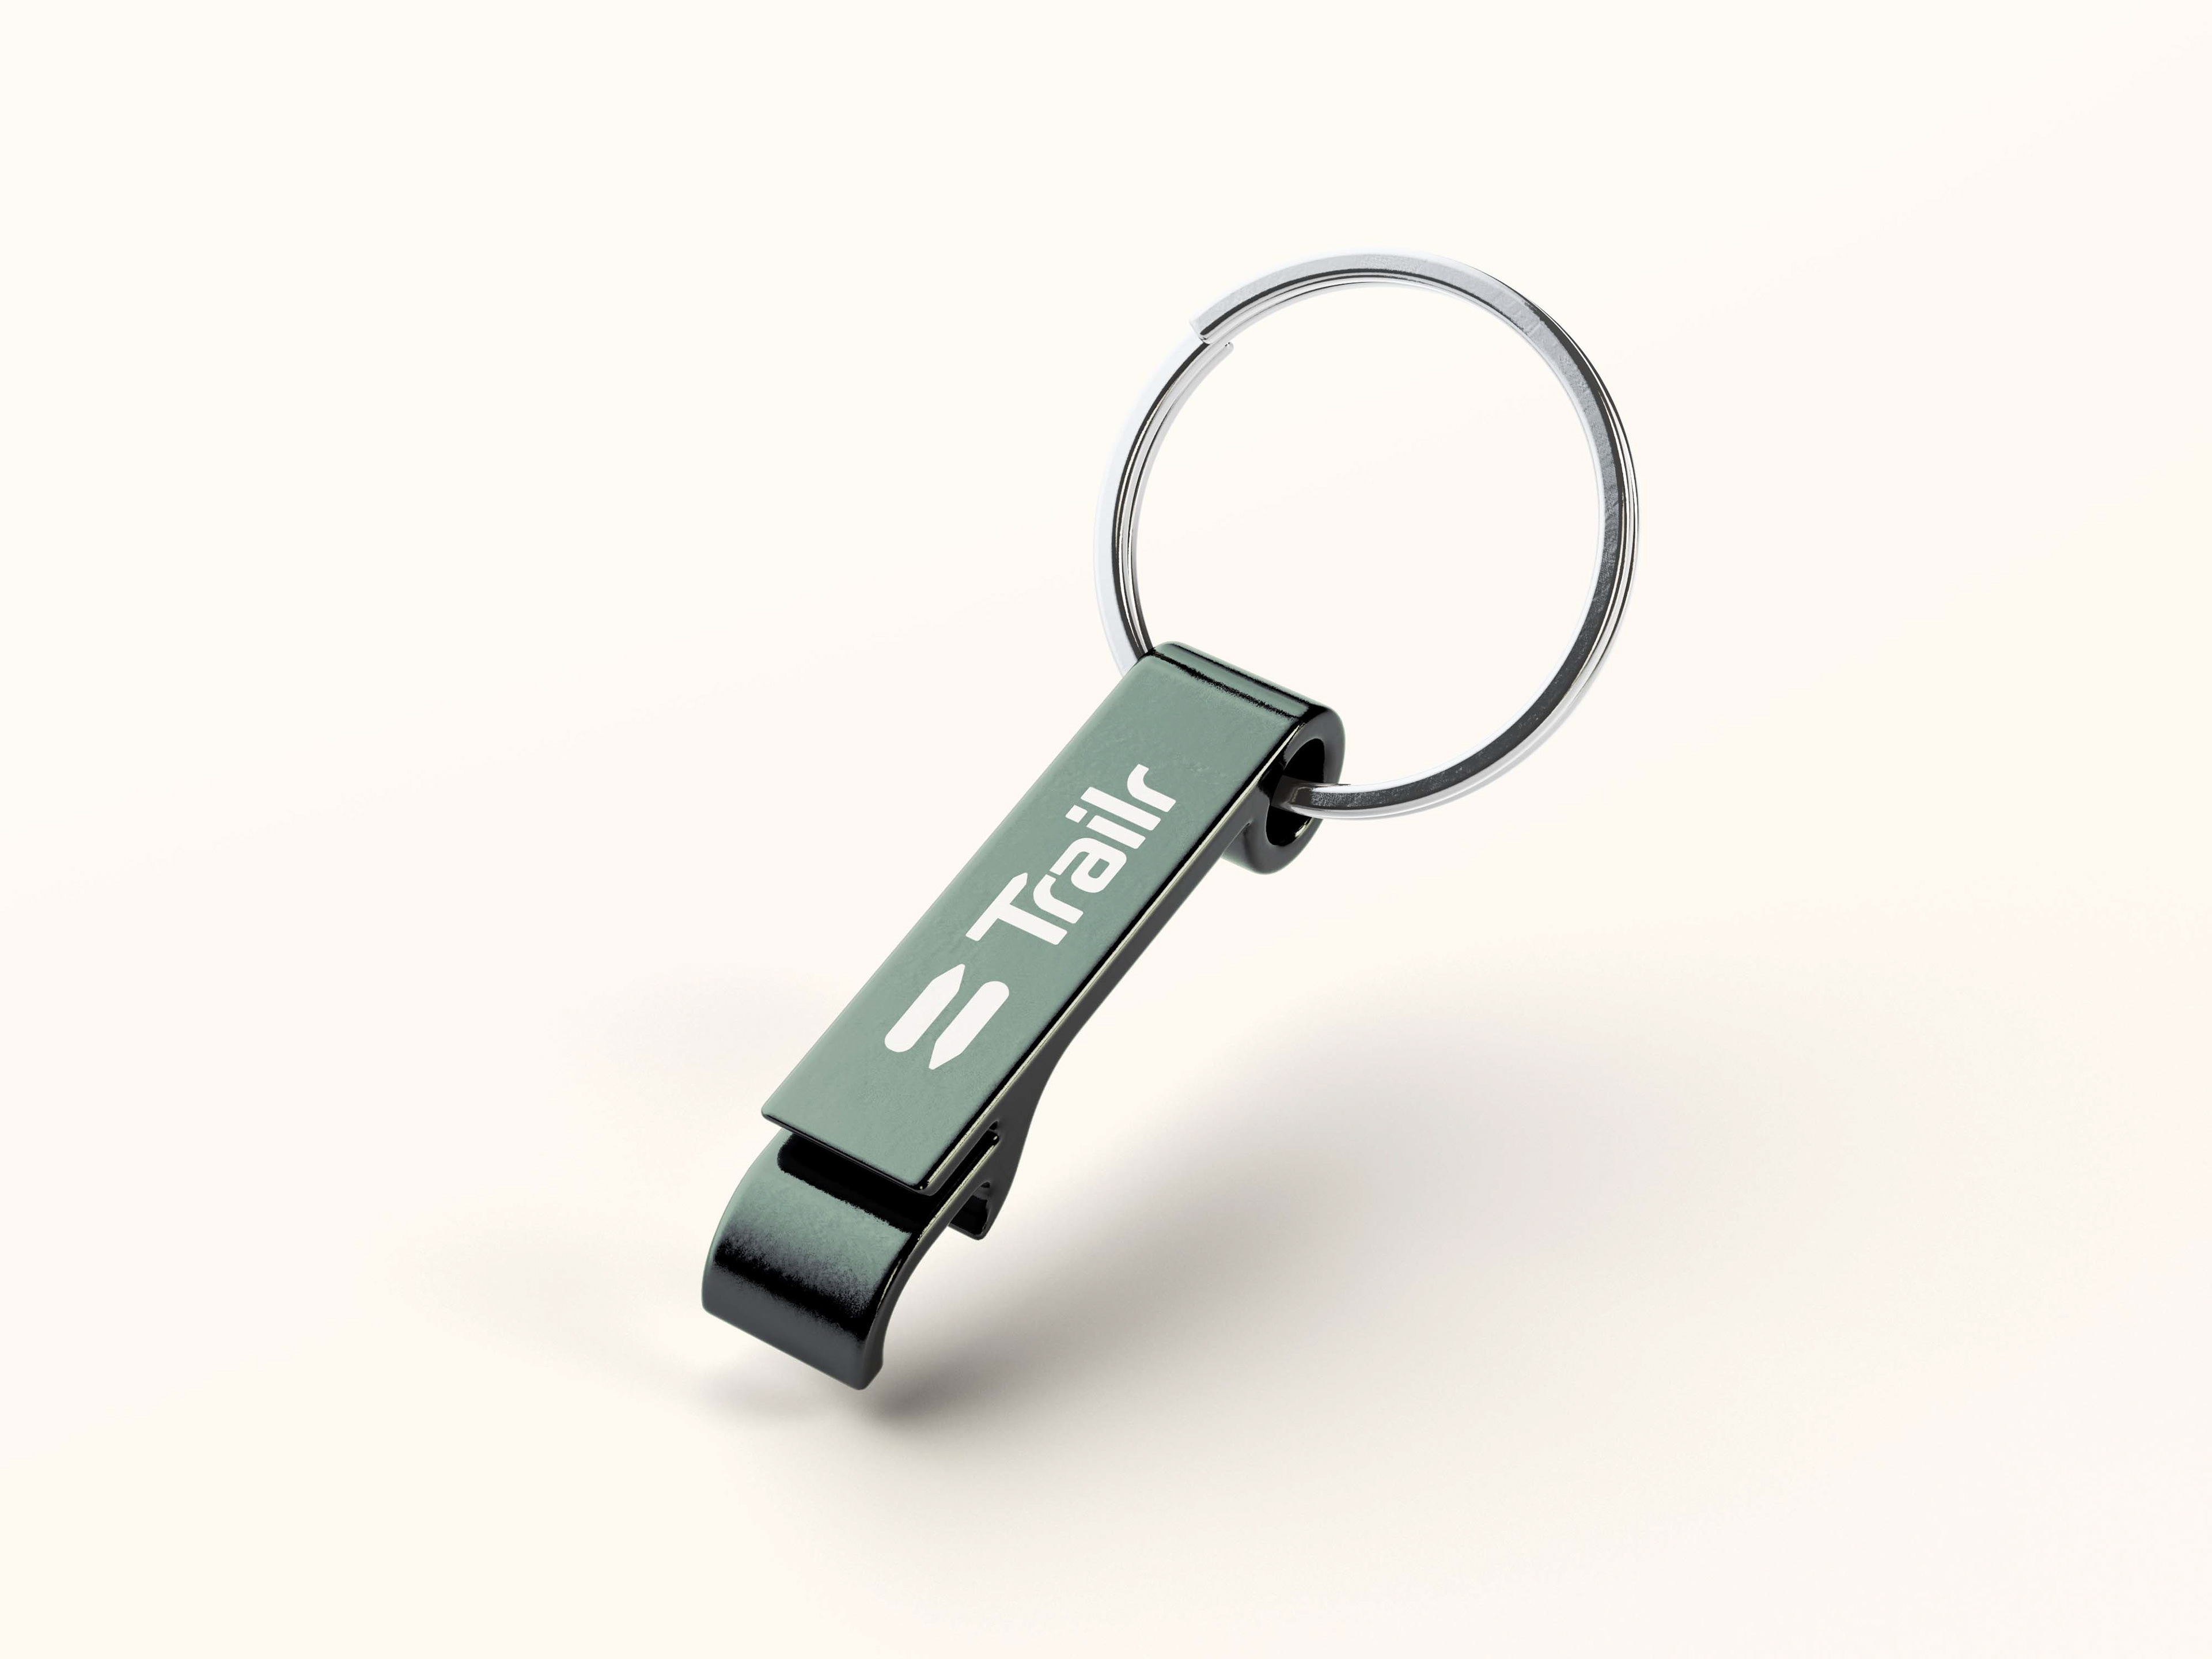
For the collateral mockups, I created an expo stand, a wristband mockup, a keychain mockup, an Apple Watch app mockup, and a poster mockup. Furthermore, I created a handful of mockups to further demonstrate the use of the brand's logos and colours in the form of a bottle opener, a round pin, and building facade signage.
Bottle Opener w/ Secondary Logo
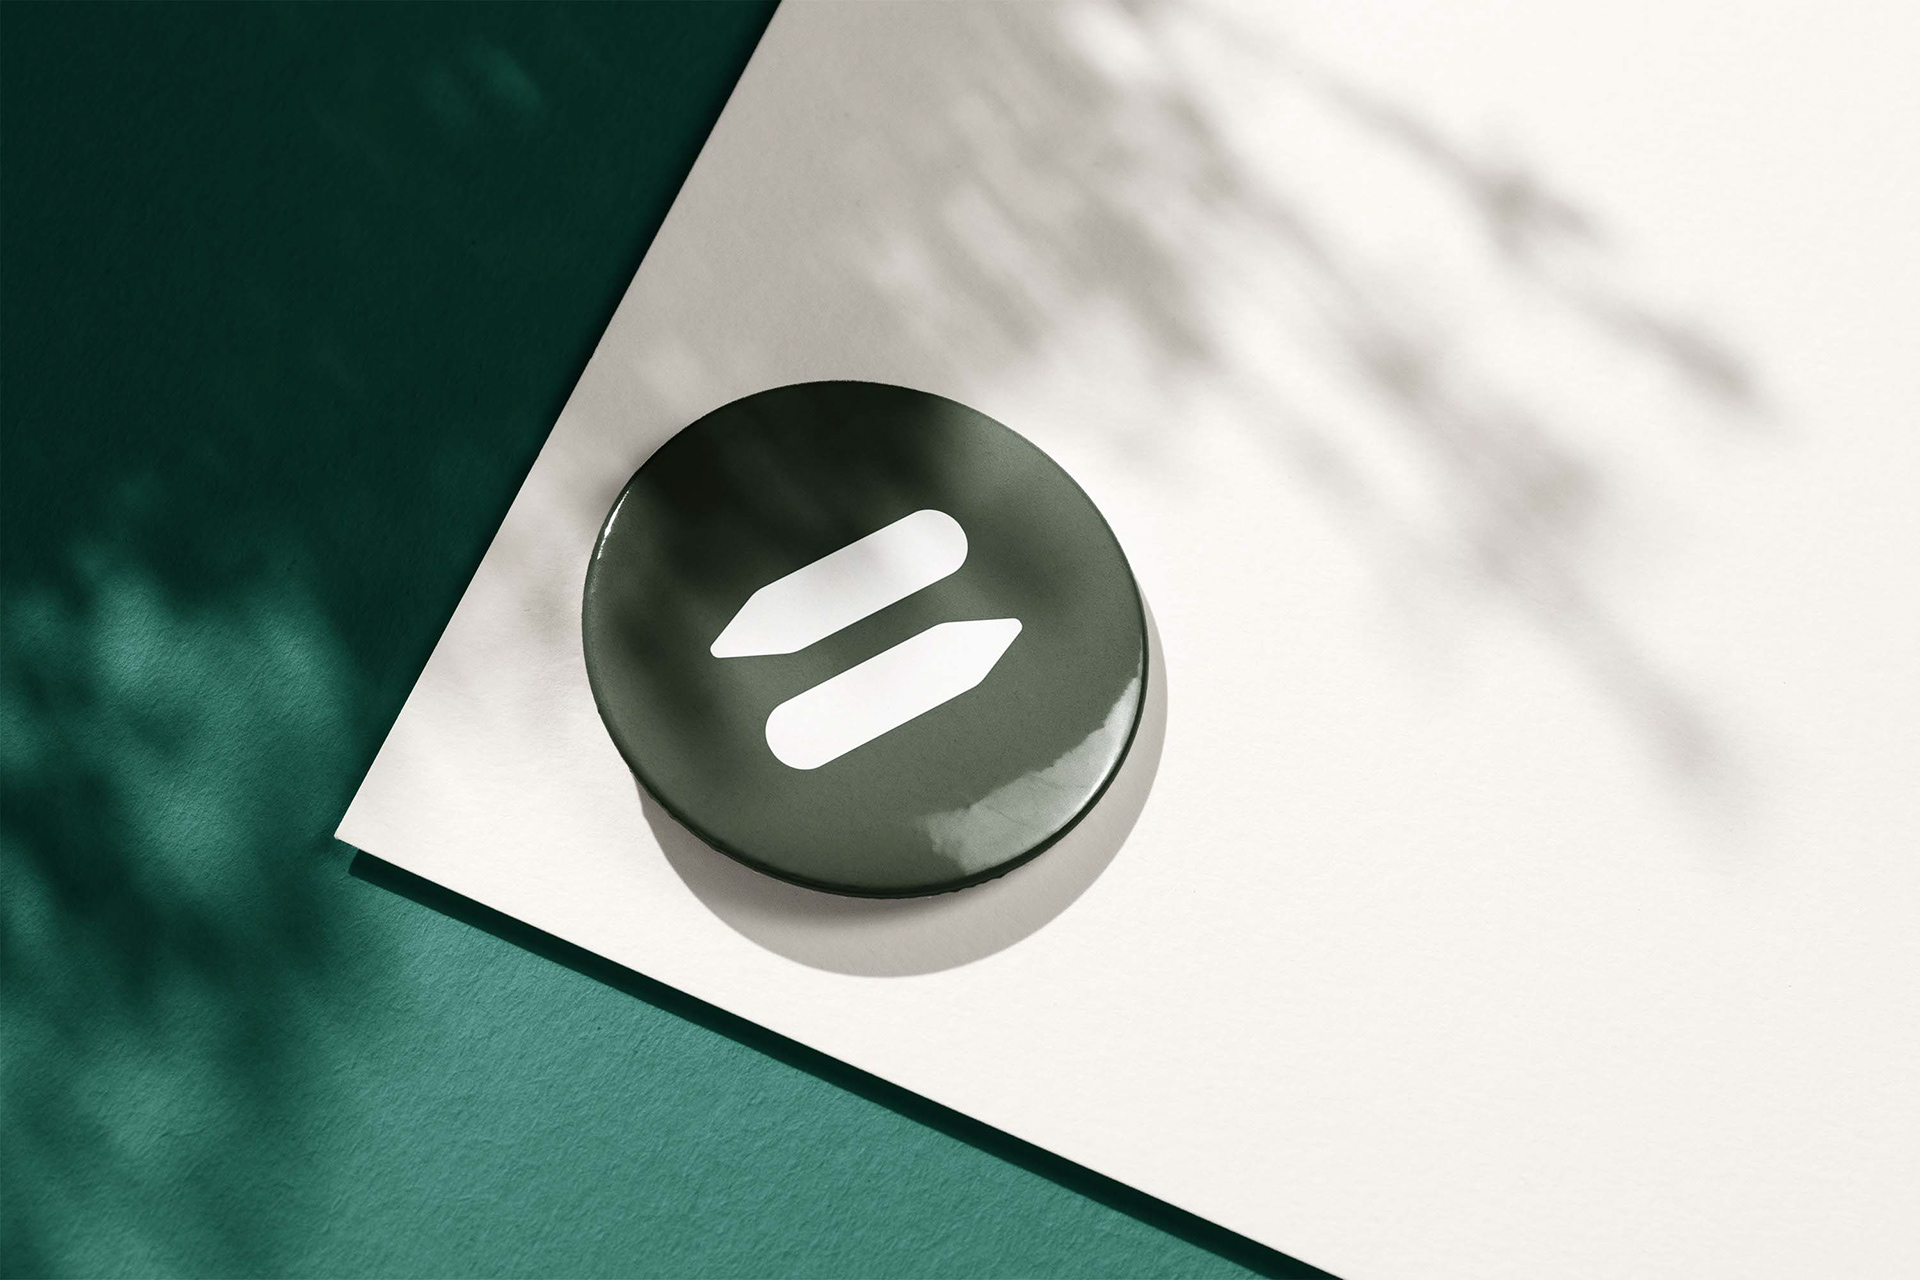
Pin w/ Icon Logo
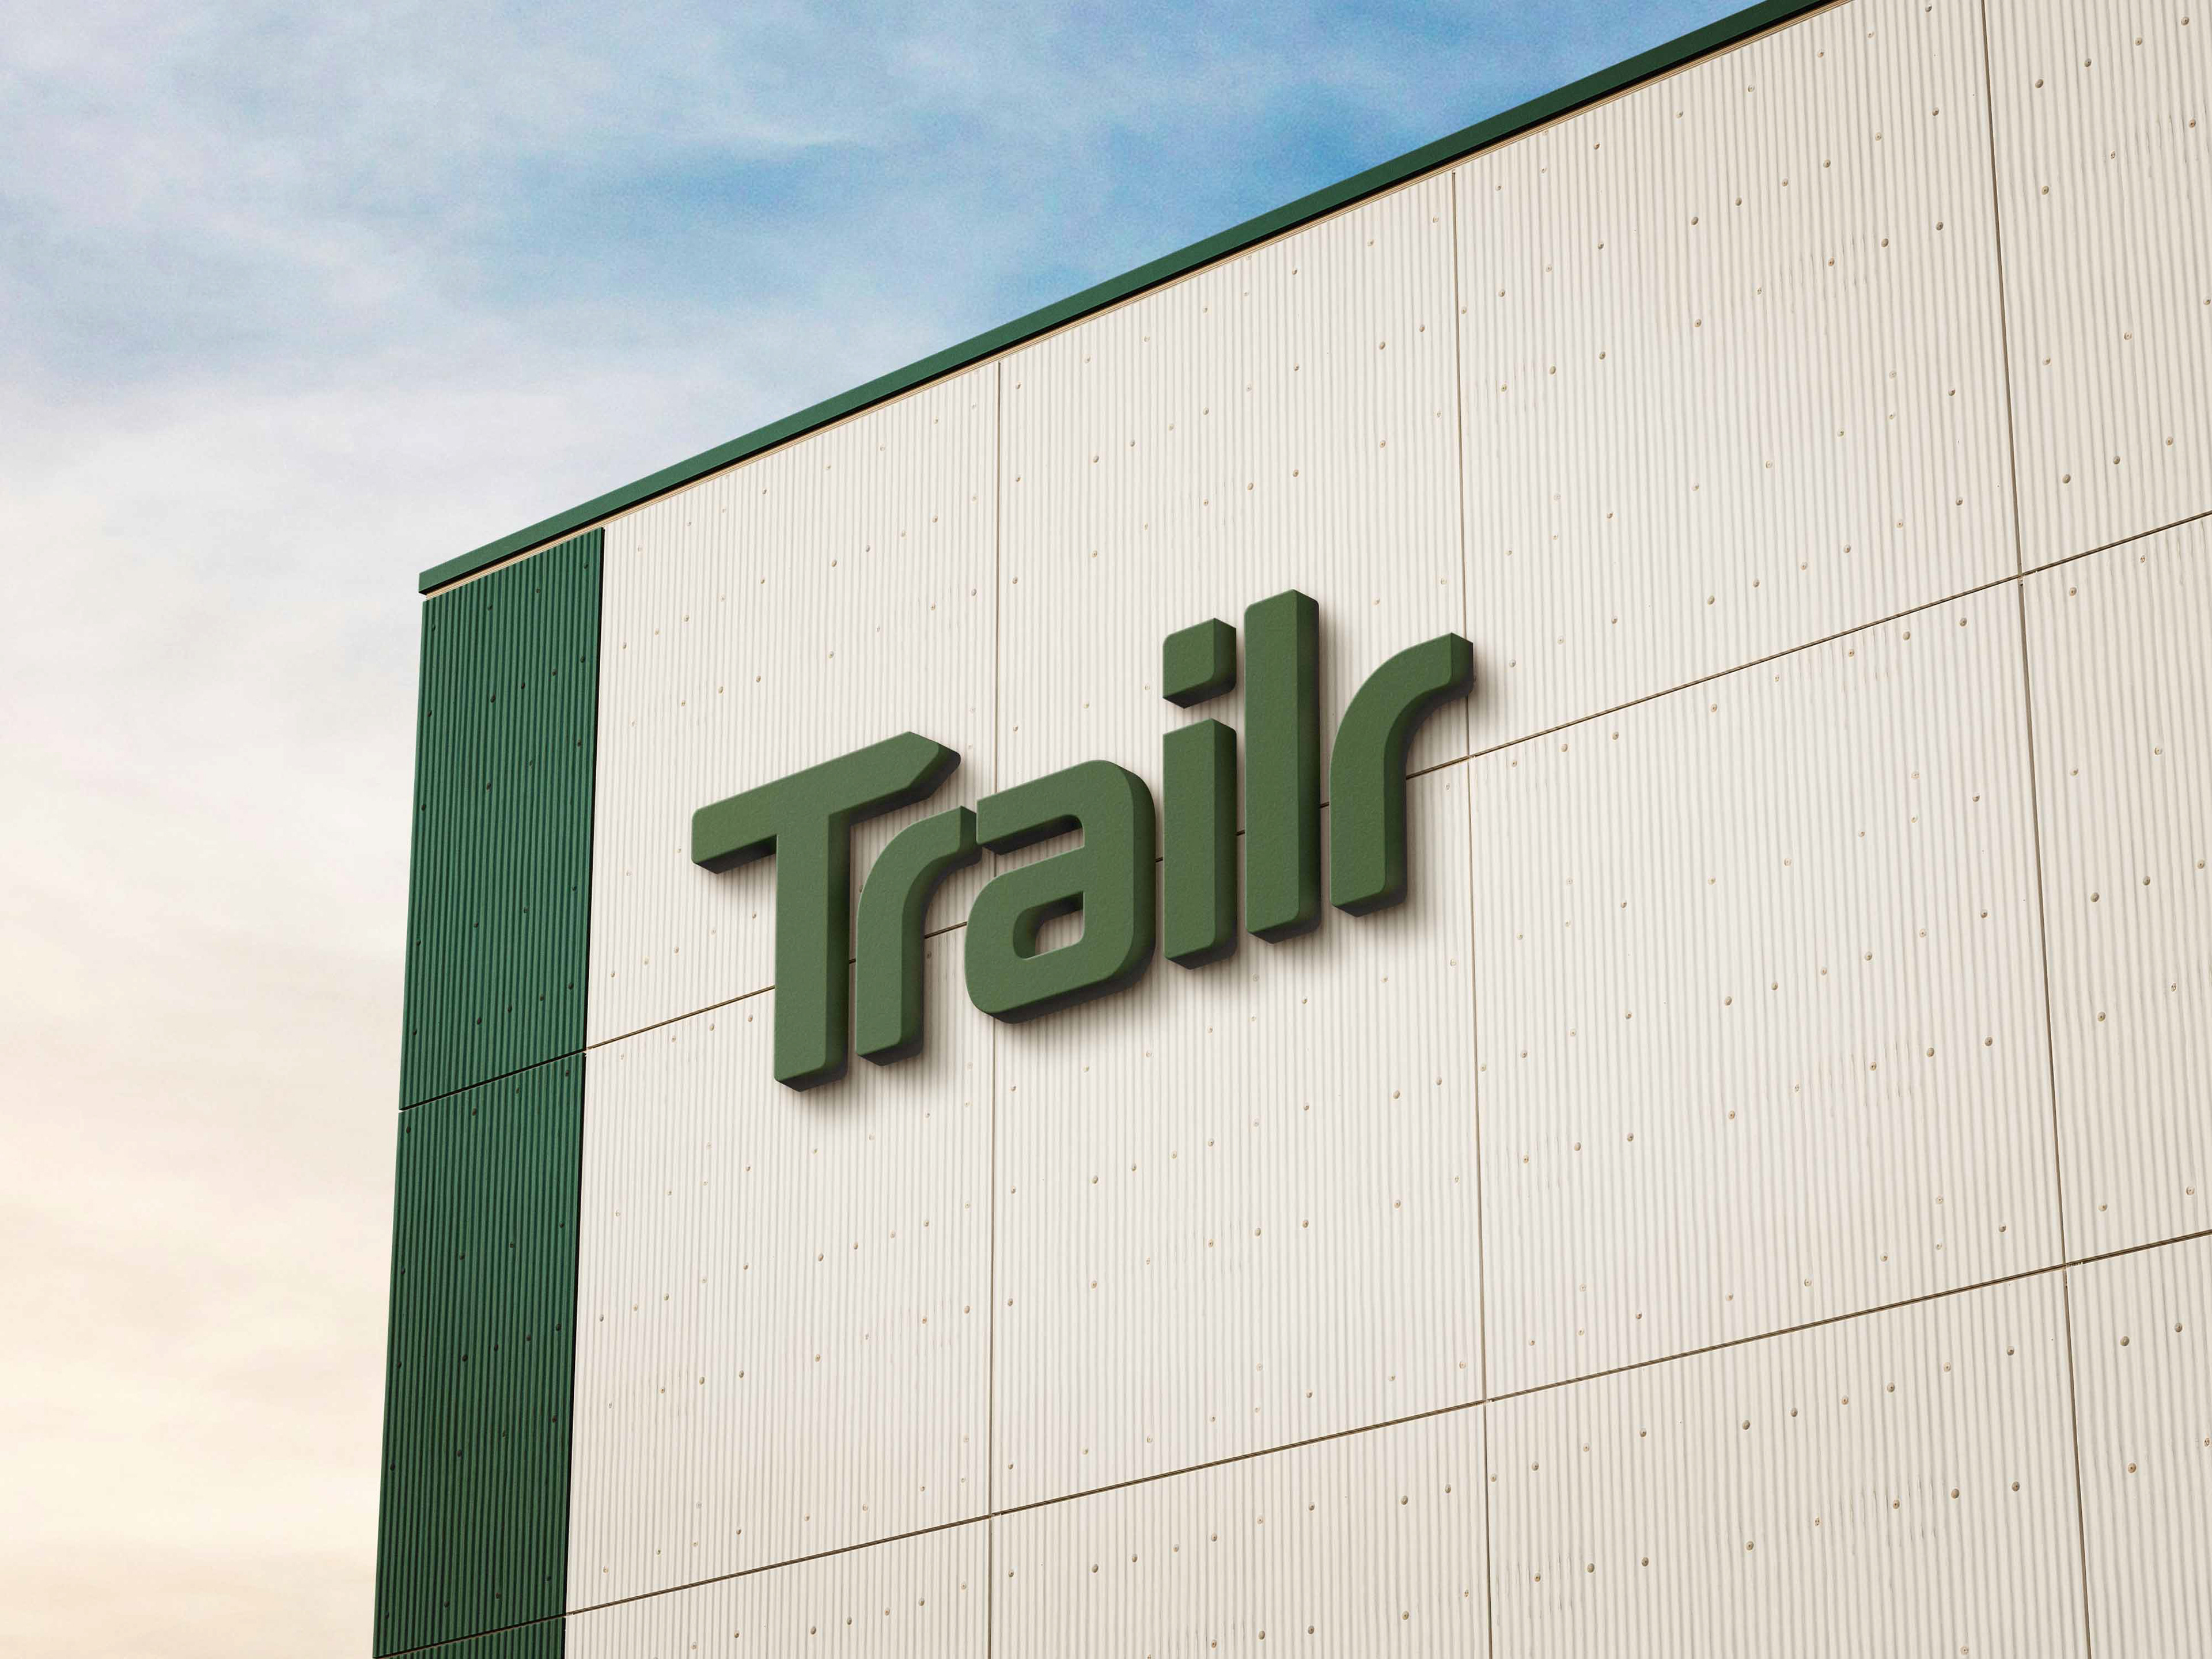
Building Sign w/ Primary Logo
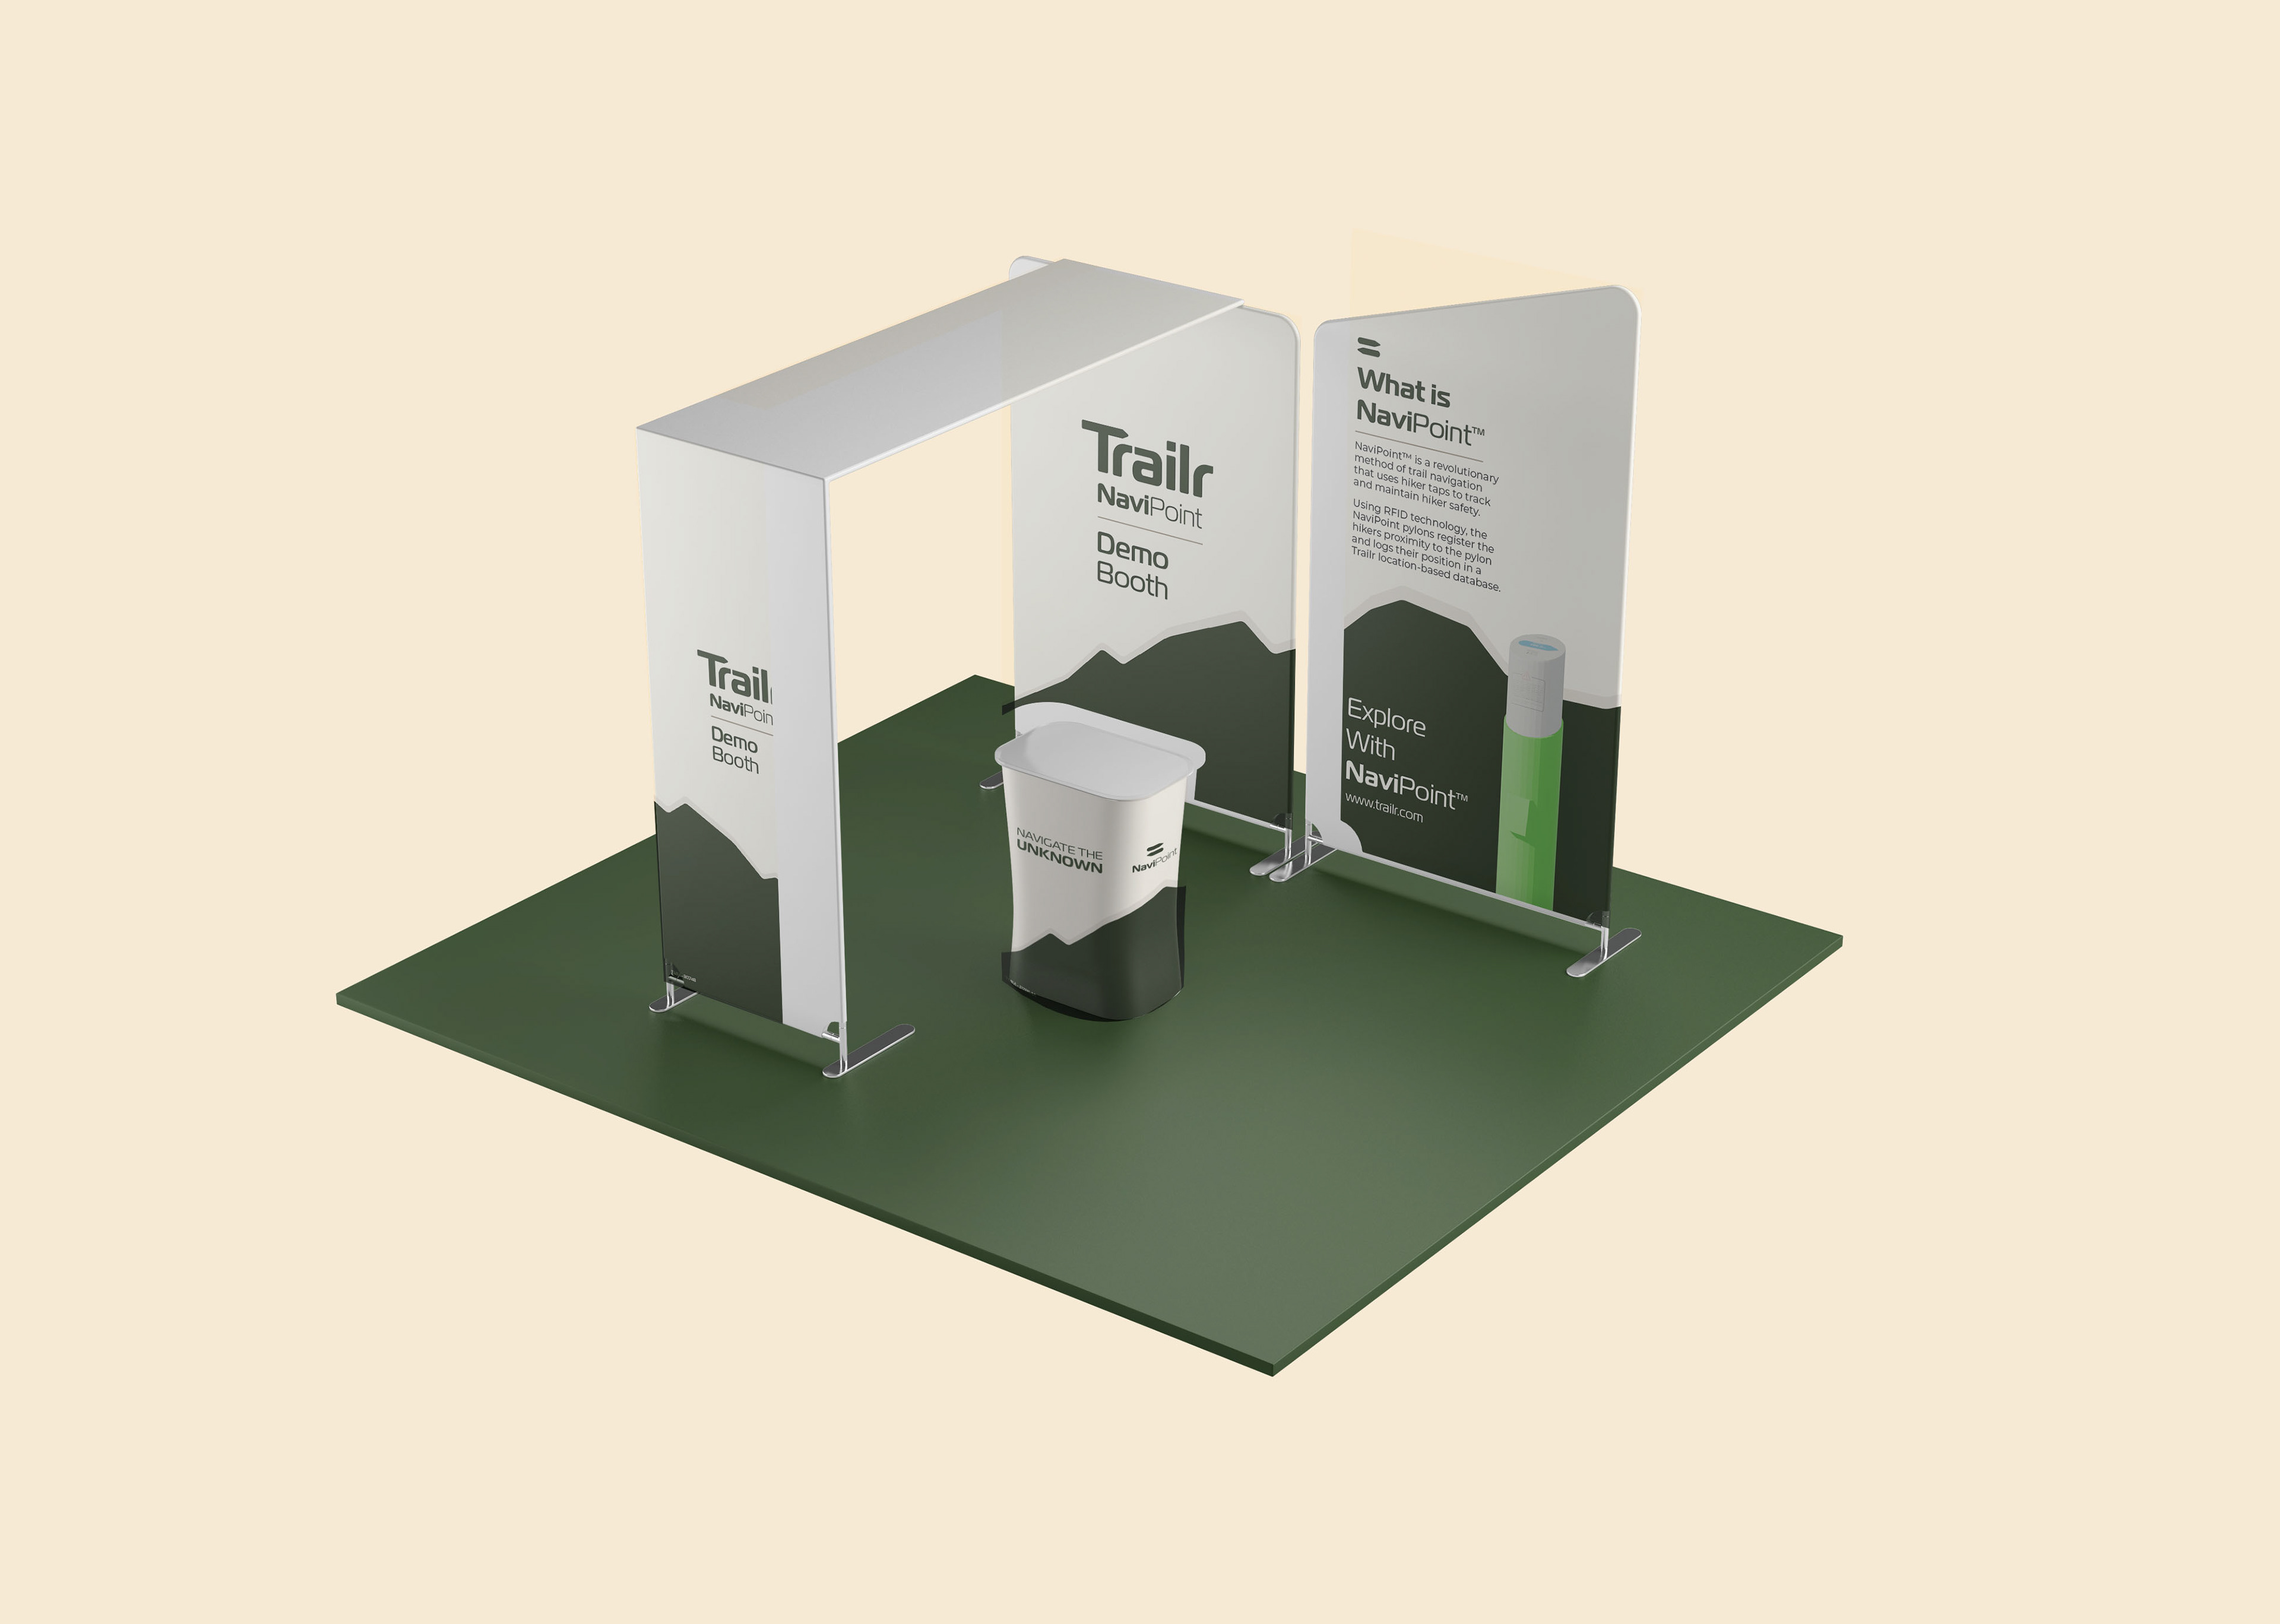
NaviPoint Expo Stand Mockup
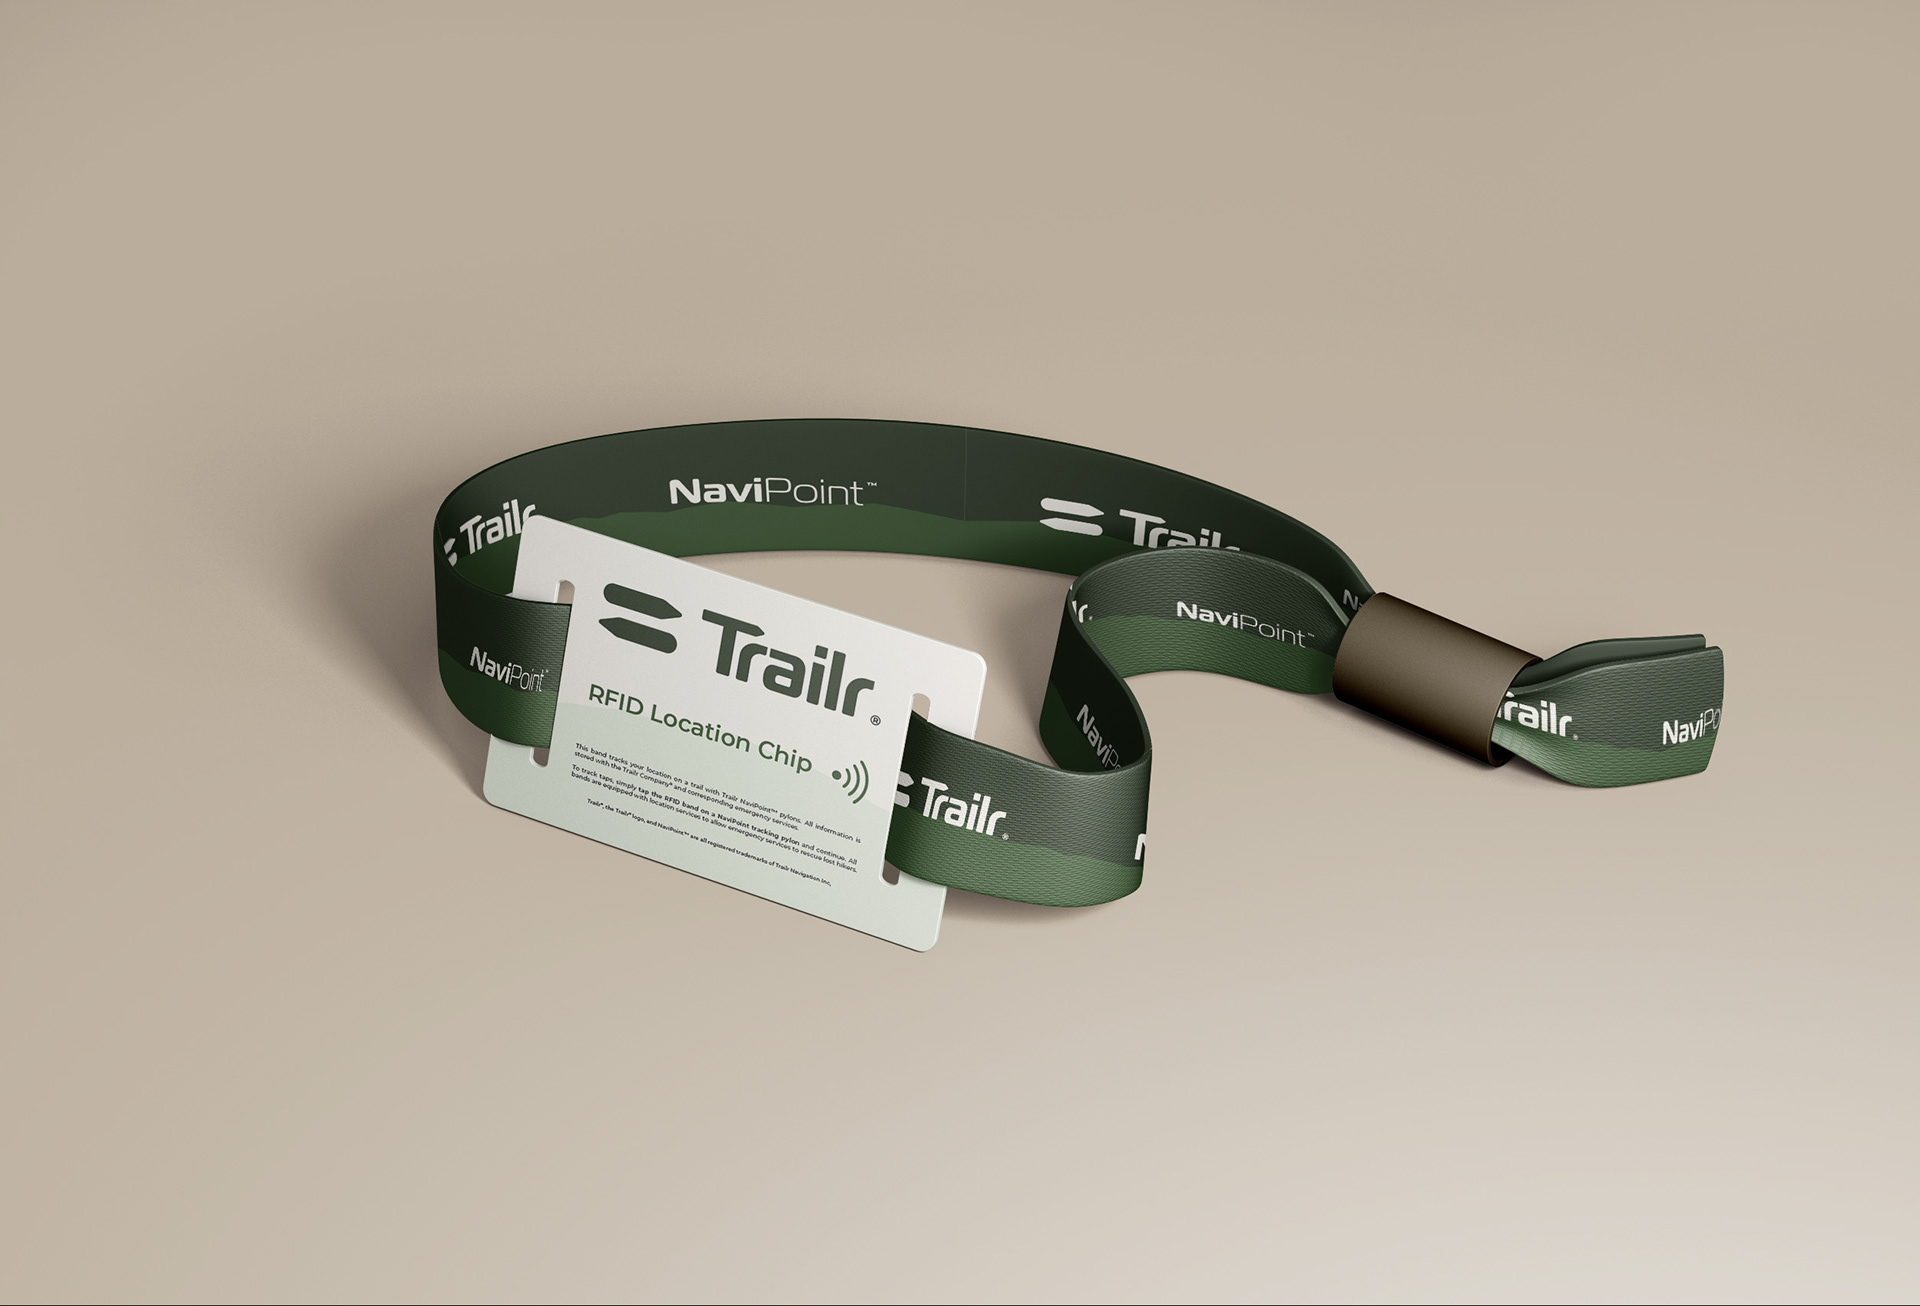
NaviPoint RFID Wristband Mockup

NaviPoint Apple Watch App Mockup
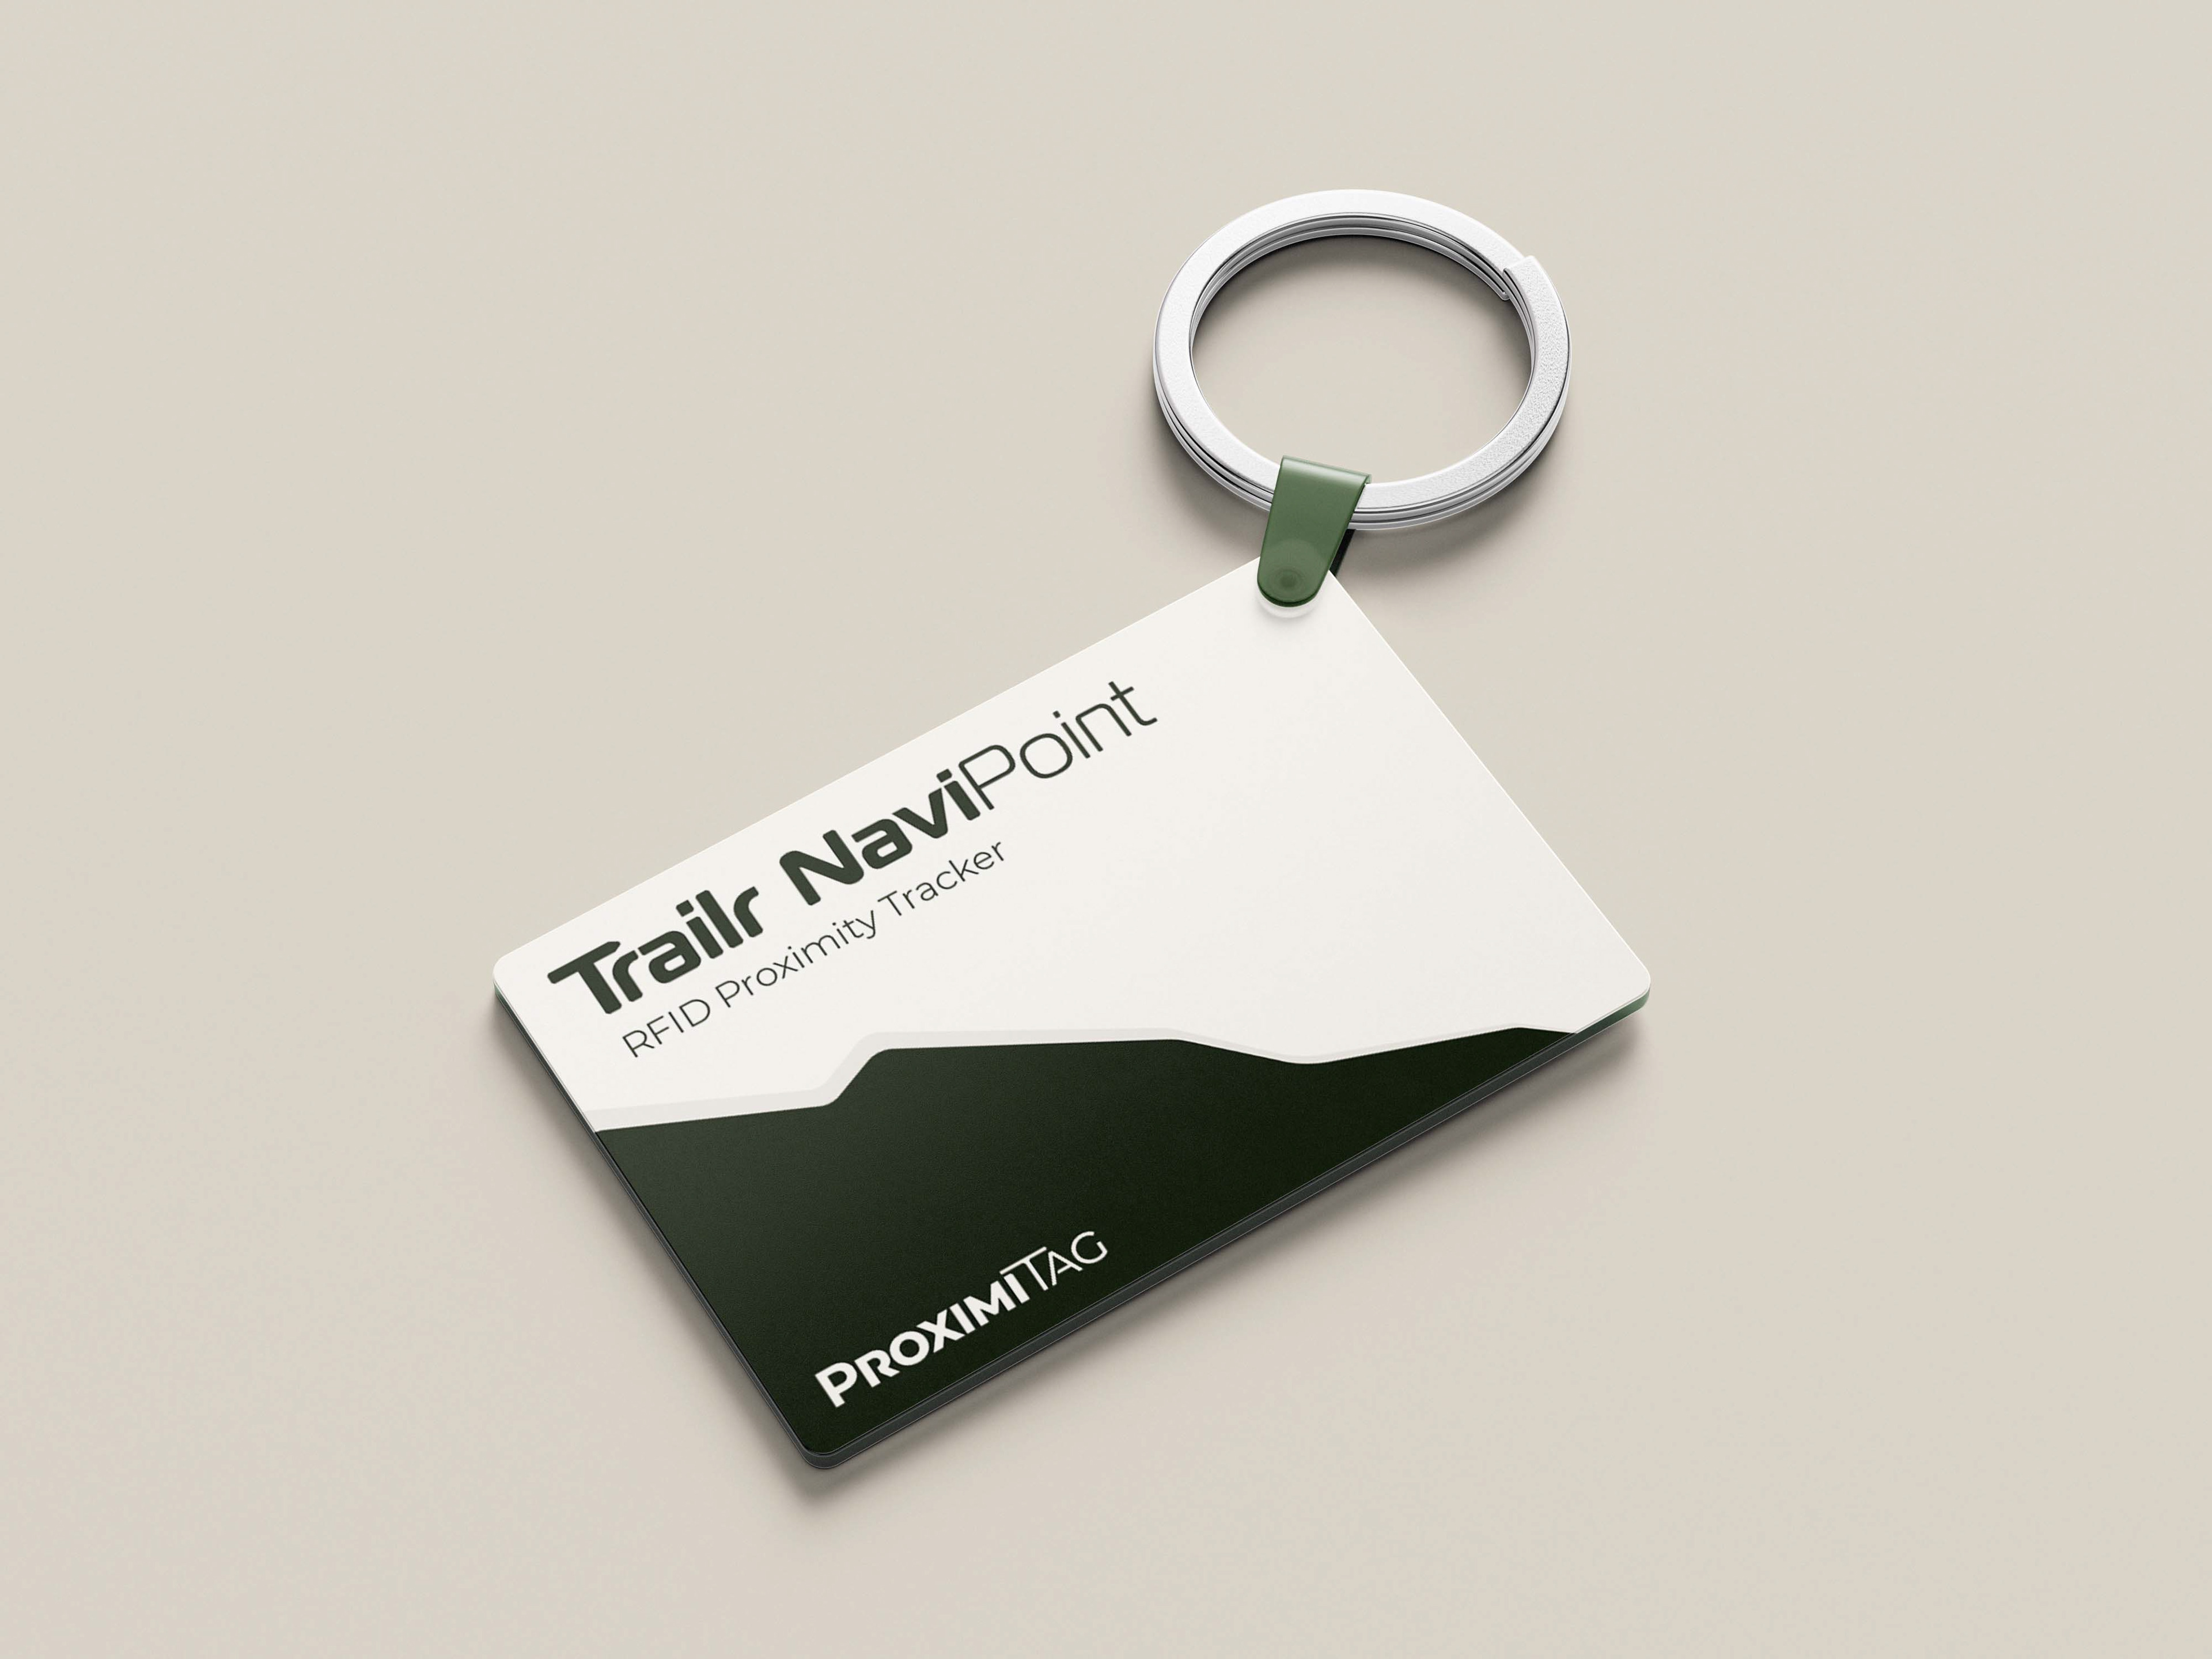
NaviPoint RFID Keychain Tag Mockup
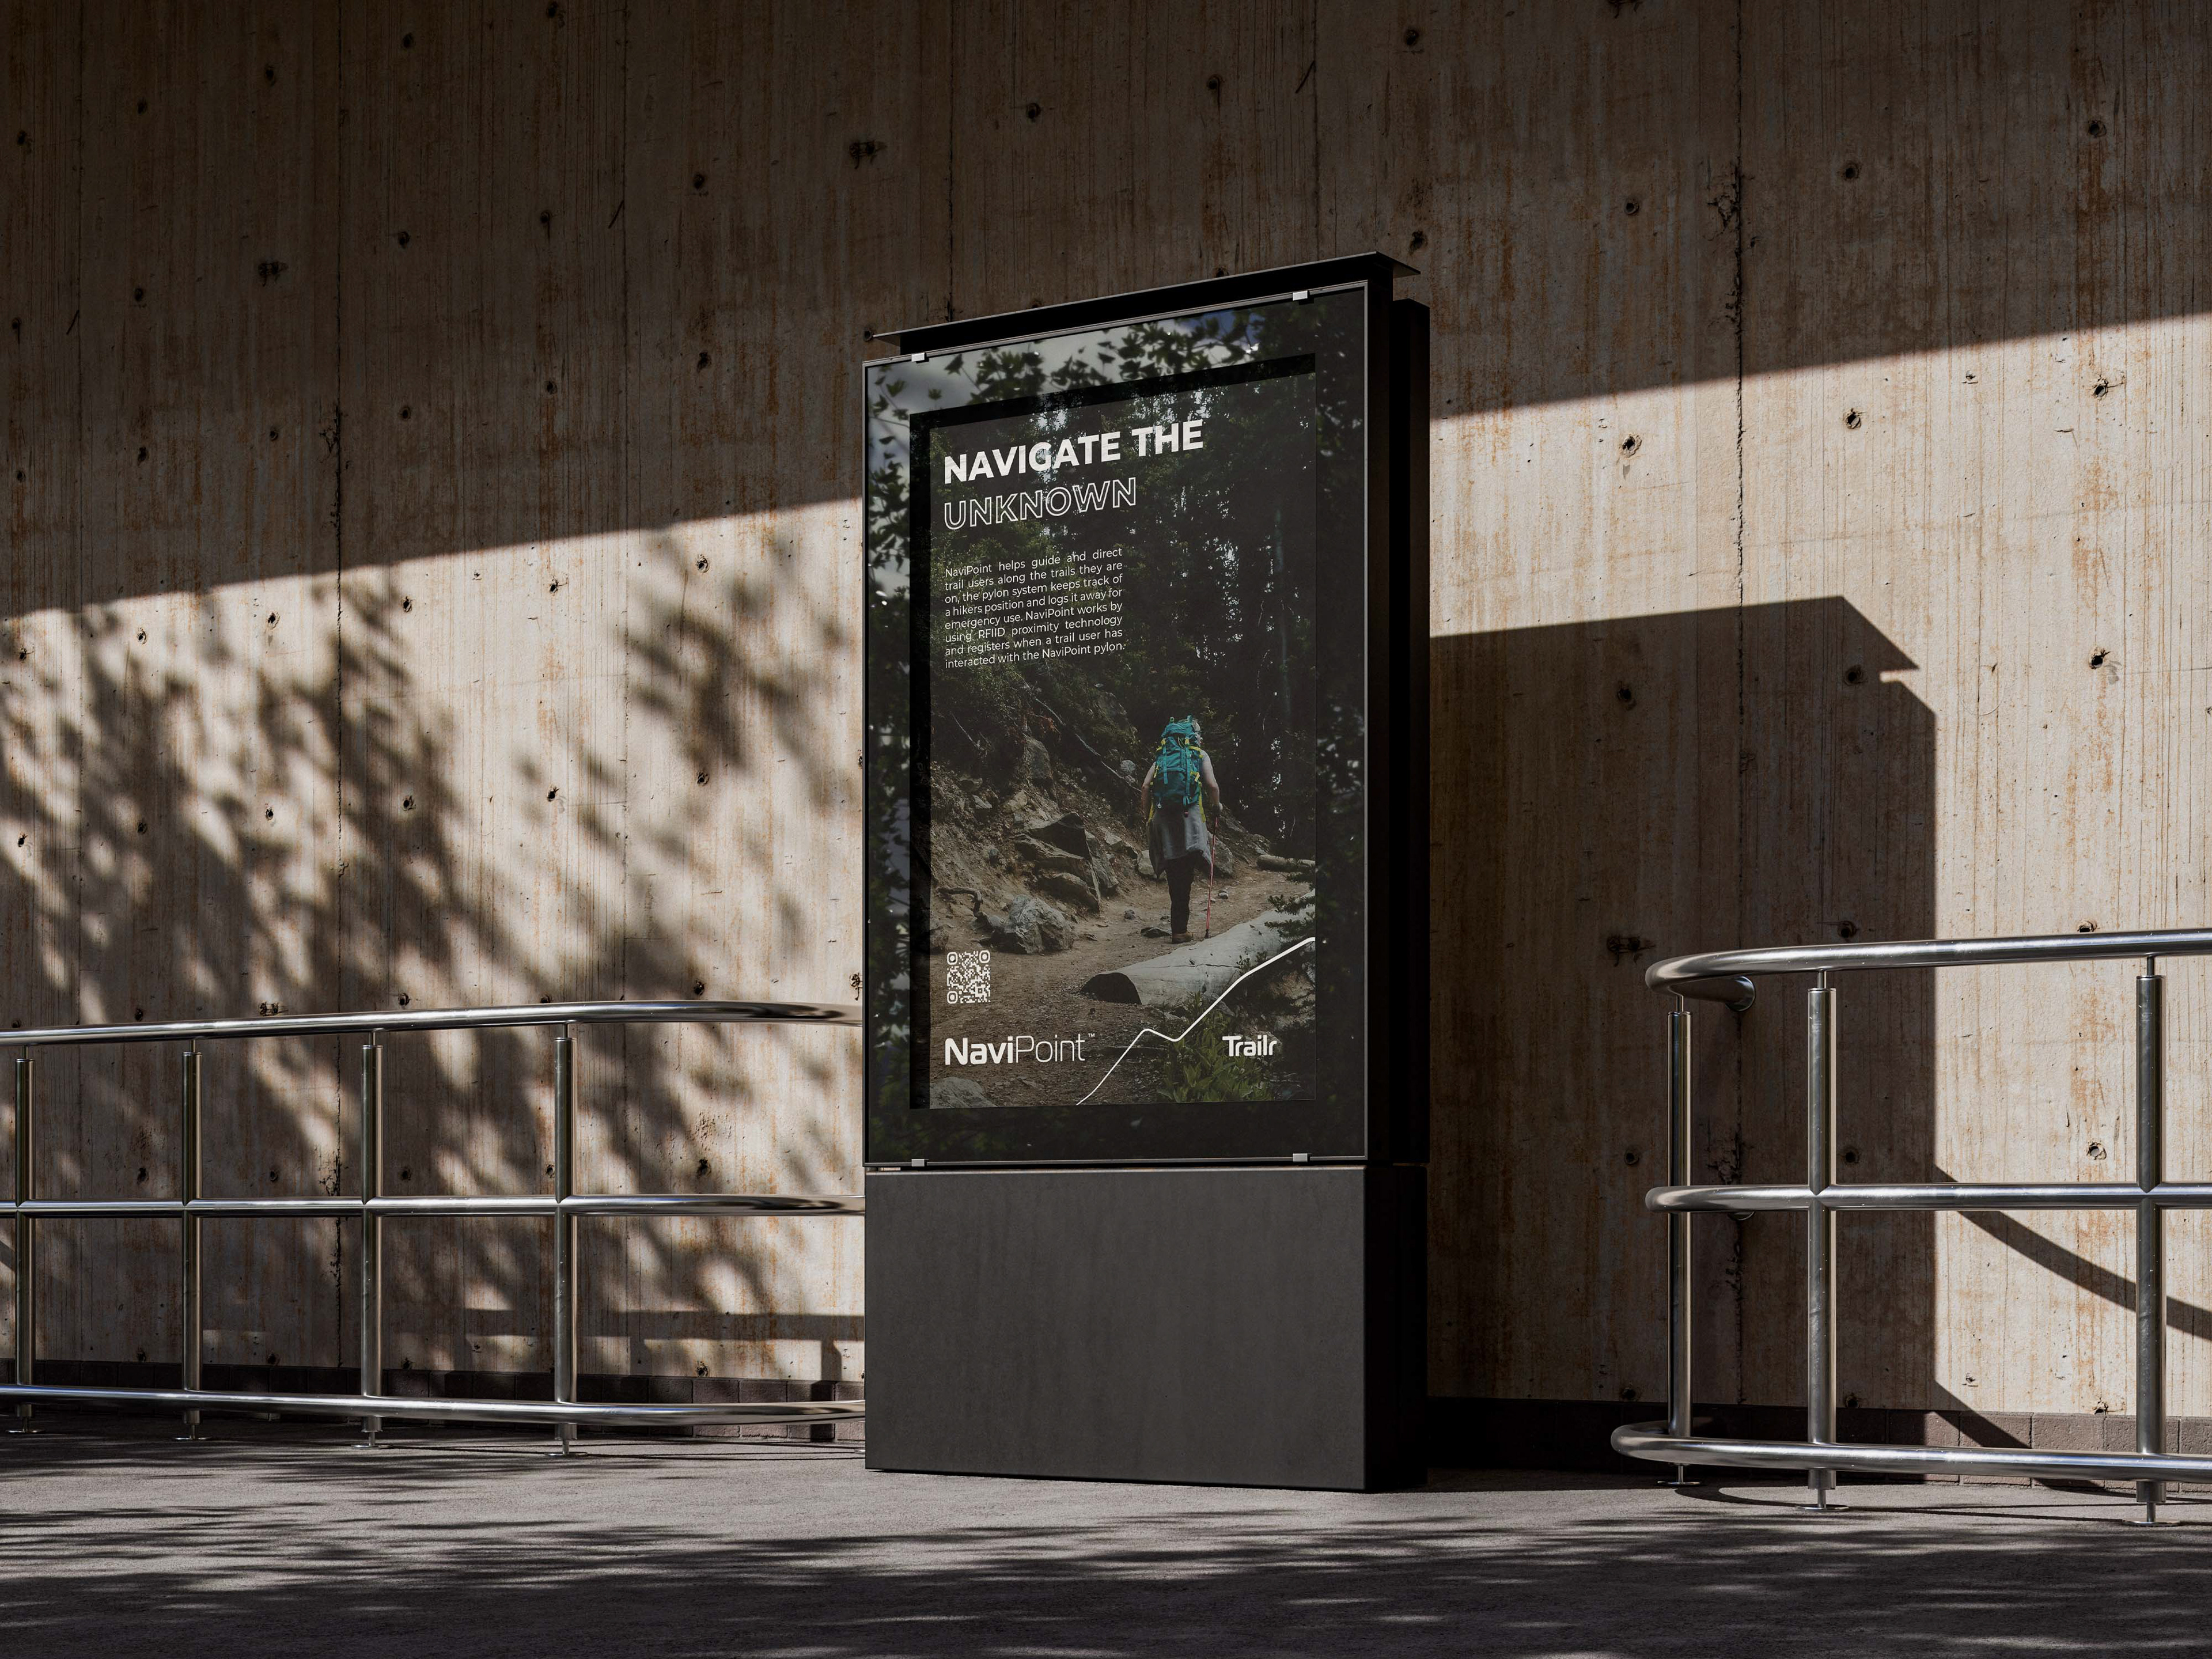
NaviPoint Urban Poster Mockup
The Wireframe & Website
The wireframes structure the content, images, and layout as needed in order to properly recreate and build the design in Webflow. The wireframes utilize an easy-to-read layout where the blocks of text are not too long but have sufficient information to tell the reader about the project’s purpose.
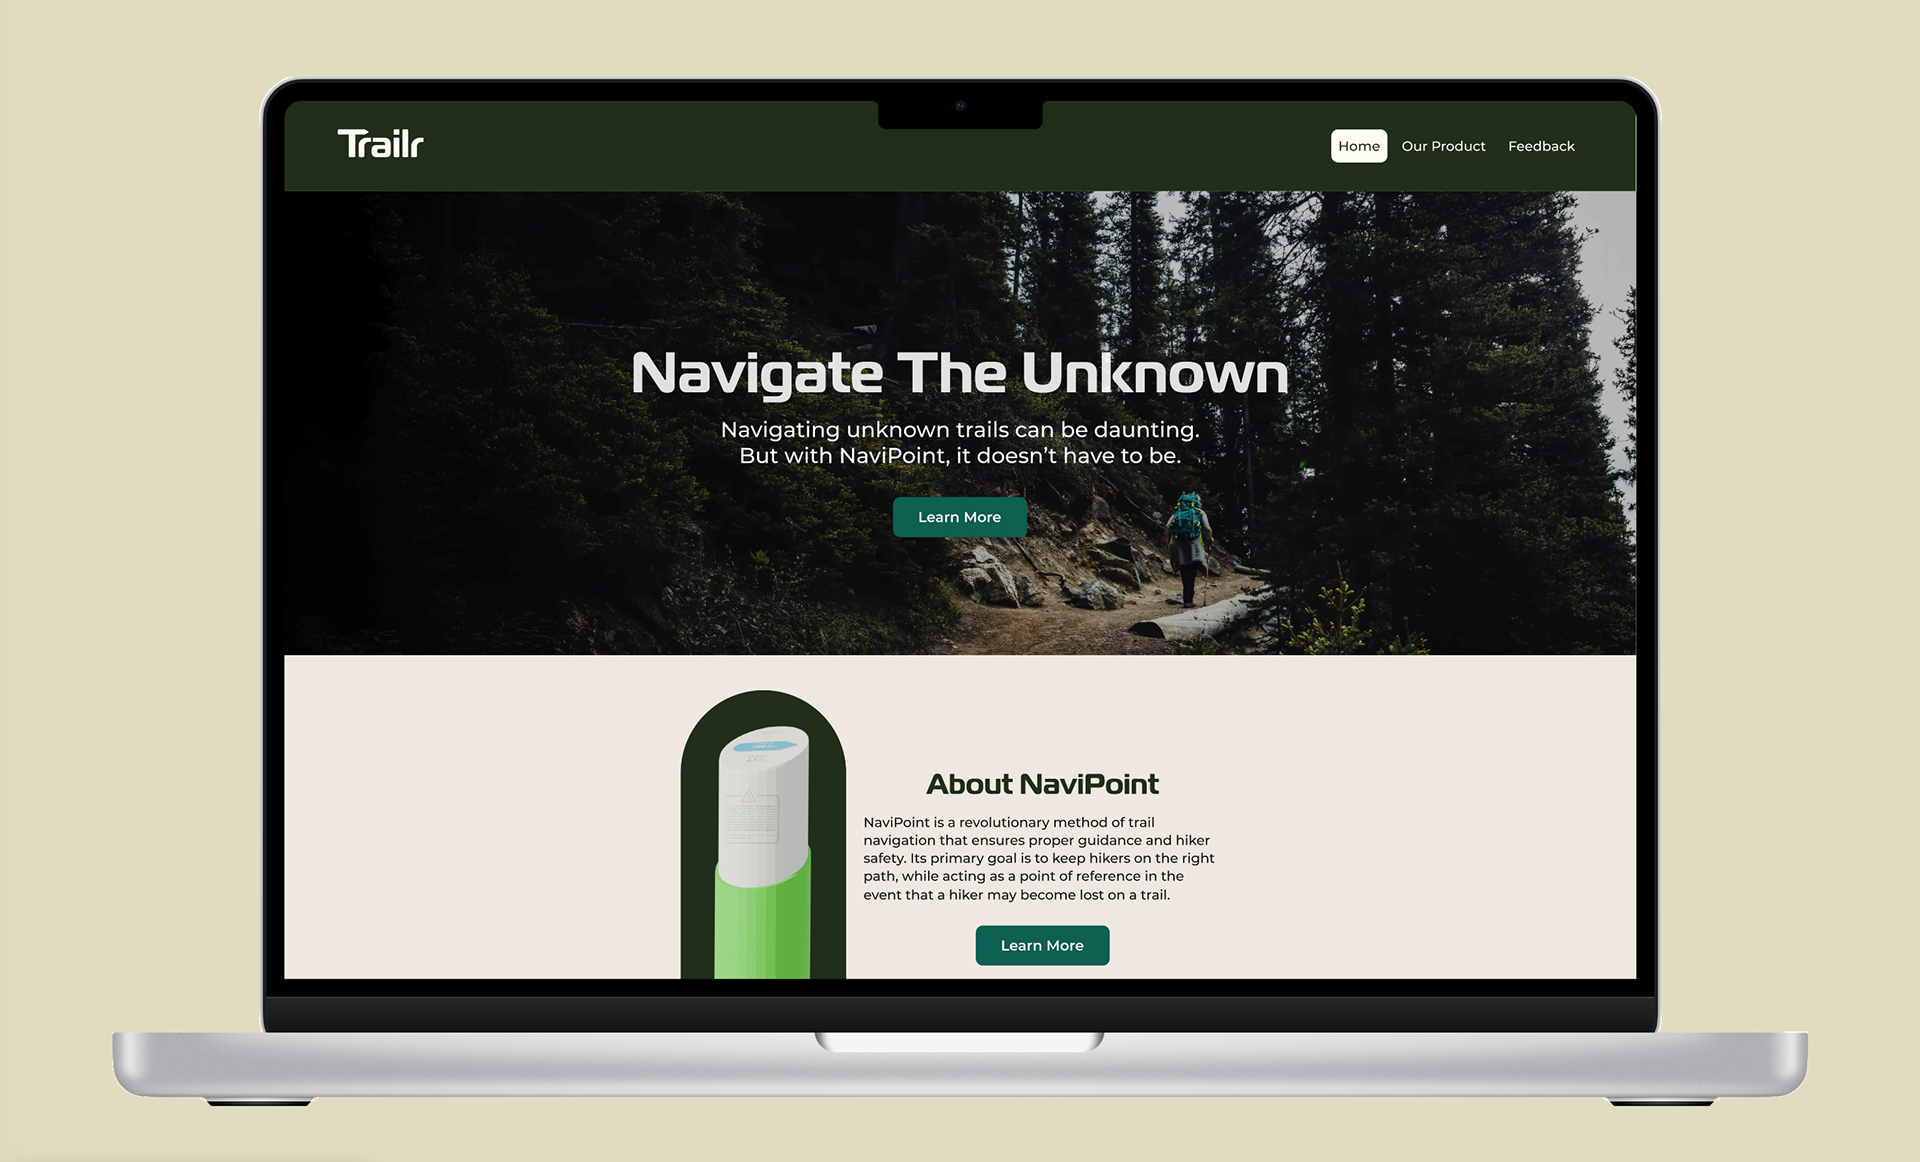
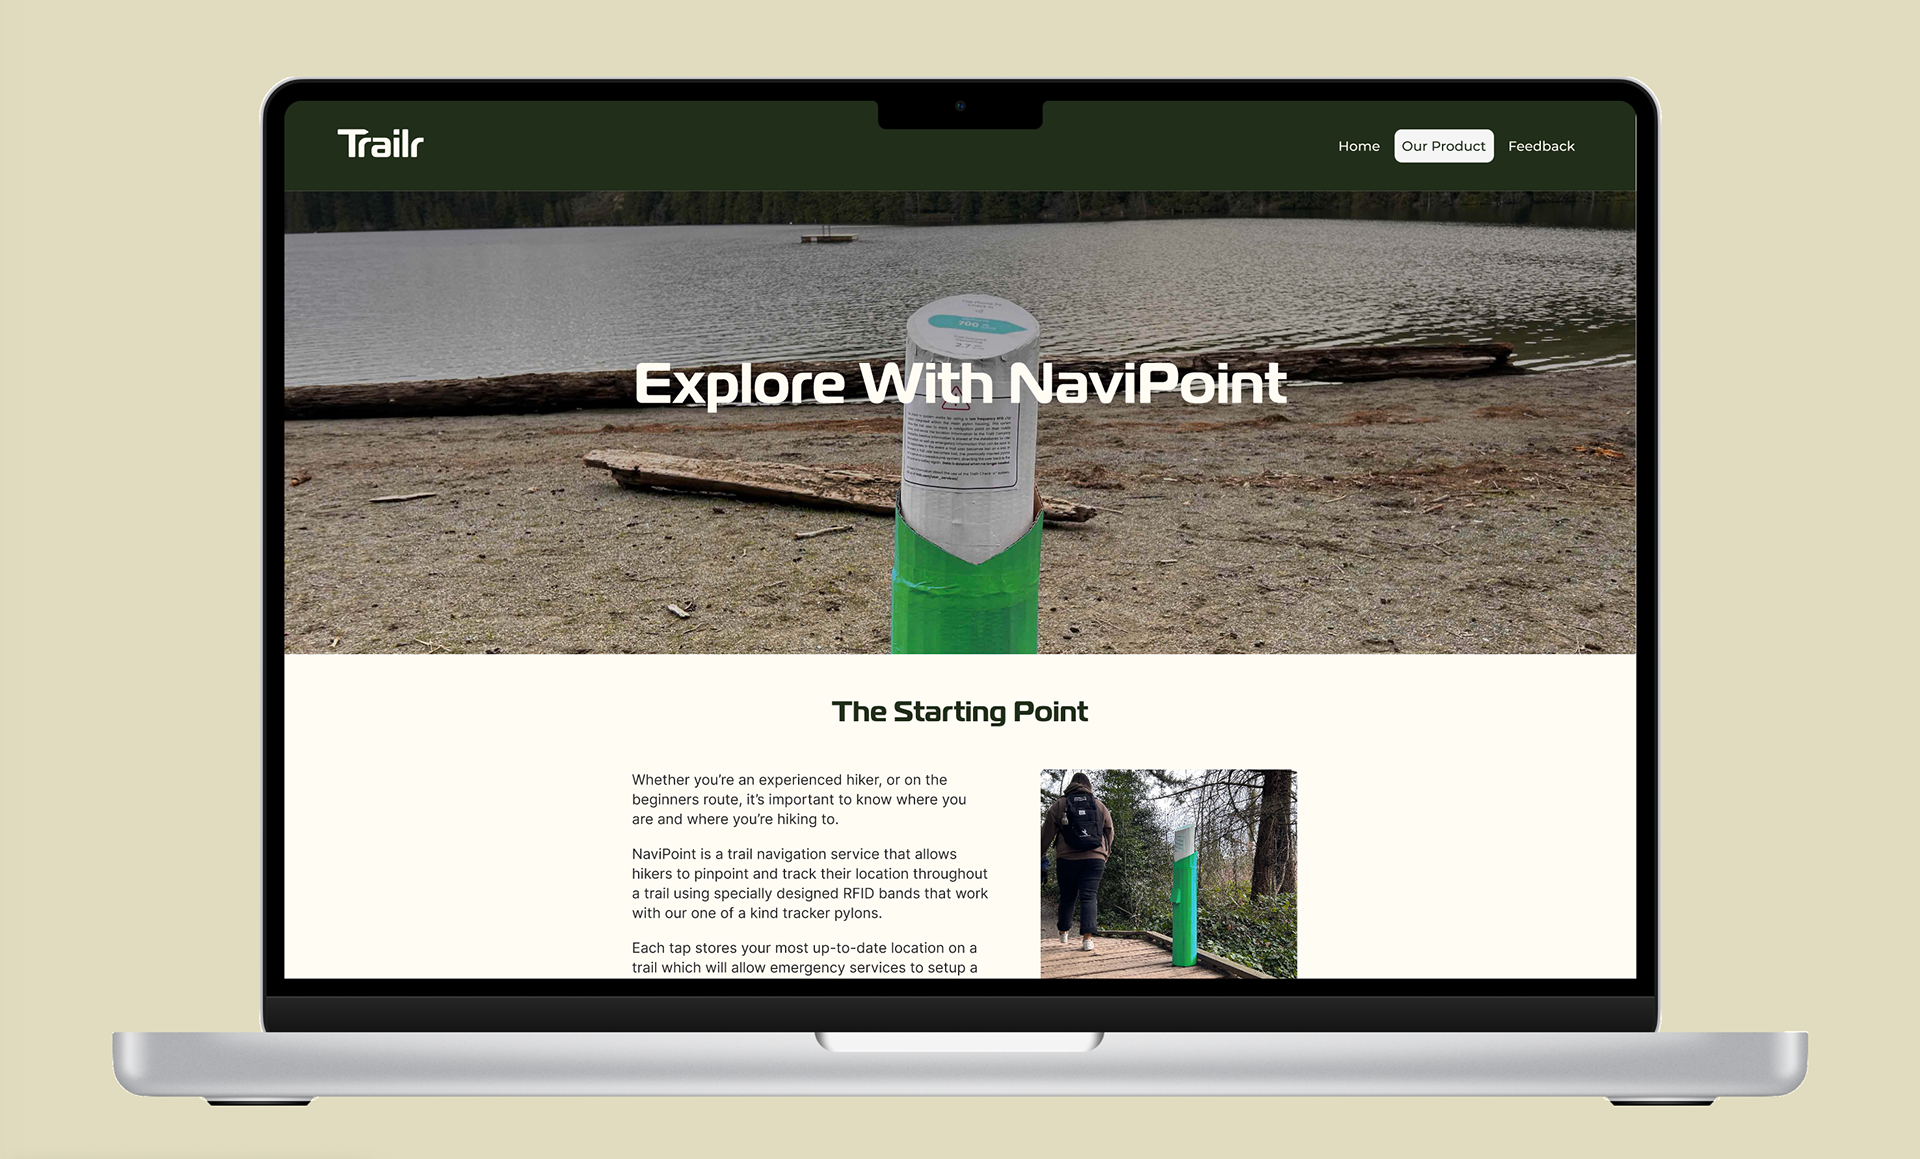
Once the wireframes were revised through a class critique session, I moved onto the Webflow development stage. This stage allowed me to begin building the marketing webflow site that would showcase my design solution for my selected problem, as well as walk the viewer through the project’s story and background. The webflow site also includes a content page where users can send in their feedback of the NaviPoint pylon system or general inquiries.
Homepage High Fidelity Wireframe
Product High Fidelity Wireframe
The Case Study Booklet
The final part of the capstone case study project was to create a booklet that goes through the entire project from the background, my research and findings, my concept renders, the brand identity which includes brand colours, typography, and logos, and how the project can be implemented into the real-world.
The Unique Circumstances
Throughout the project, I ran into a handful of constraints, though I was fortunate that they were manageable constraints. The first constraint was having to complete four other projects simultaneously, and secondly, the lack of academic research articles that were available for my project’s topic.
To combat these constraints, I managed to create and implement an effective time management timetable that organized projects to specific days of the week and focused all my time and energy on the project of the day. I also made use of the research assistance available through the VIU Library.